
Overview
Apollo is a lead generation and email sequencing software for B2B companies. It offers a free tier so you can get started with Apollo right away. If you don’t have time & you already know what you’re doing: Apollo + Relate Zap Template (Hit refresh if template doesn’t show)Use Apollo with Relate CRM
Apollo has some great features on the lead generation and outbound email side of things. Here are our team’s favorite ways to integrate Apollo with Relate:- Add Linkedin profiles to Relate
- Automatically sync your Apollo lead lists with Relate
- Sync any emails sent/received through Apollo
Connect Apollo and Relate through Zapier
1. Create a Zap linking Apollo and Relate
First, you’d need a Zapier account and a Zap linking between Relate and Apollo. Find Apollo and Relate from the first page you see after logging into Zapier. In the second row, choose “New Contact” from Apollo and “Generate Lead & Contact” from Relate. With this integration, saving a new contact in Apollo will automatically create a new lead and contact in Relate. Click the “Try it!” button to continue.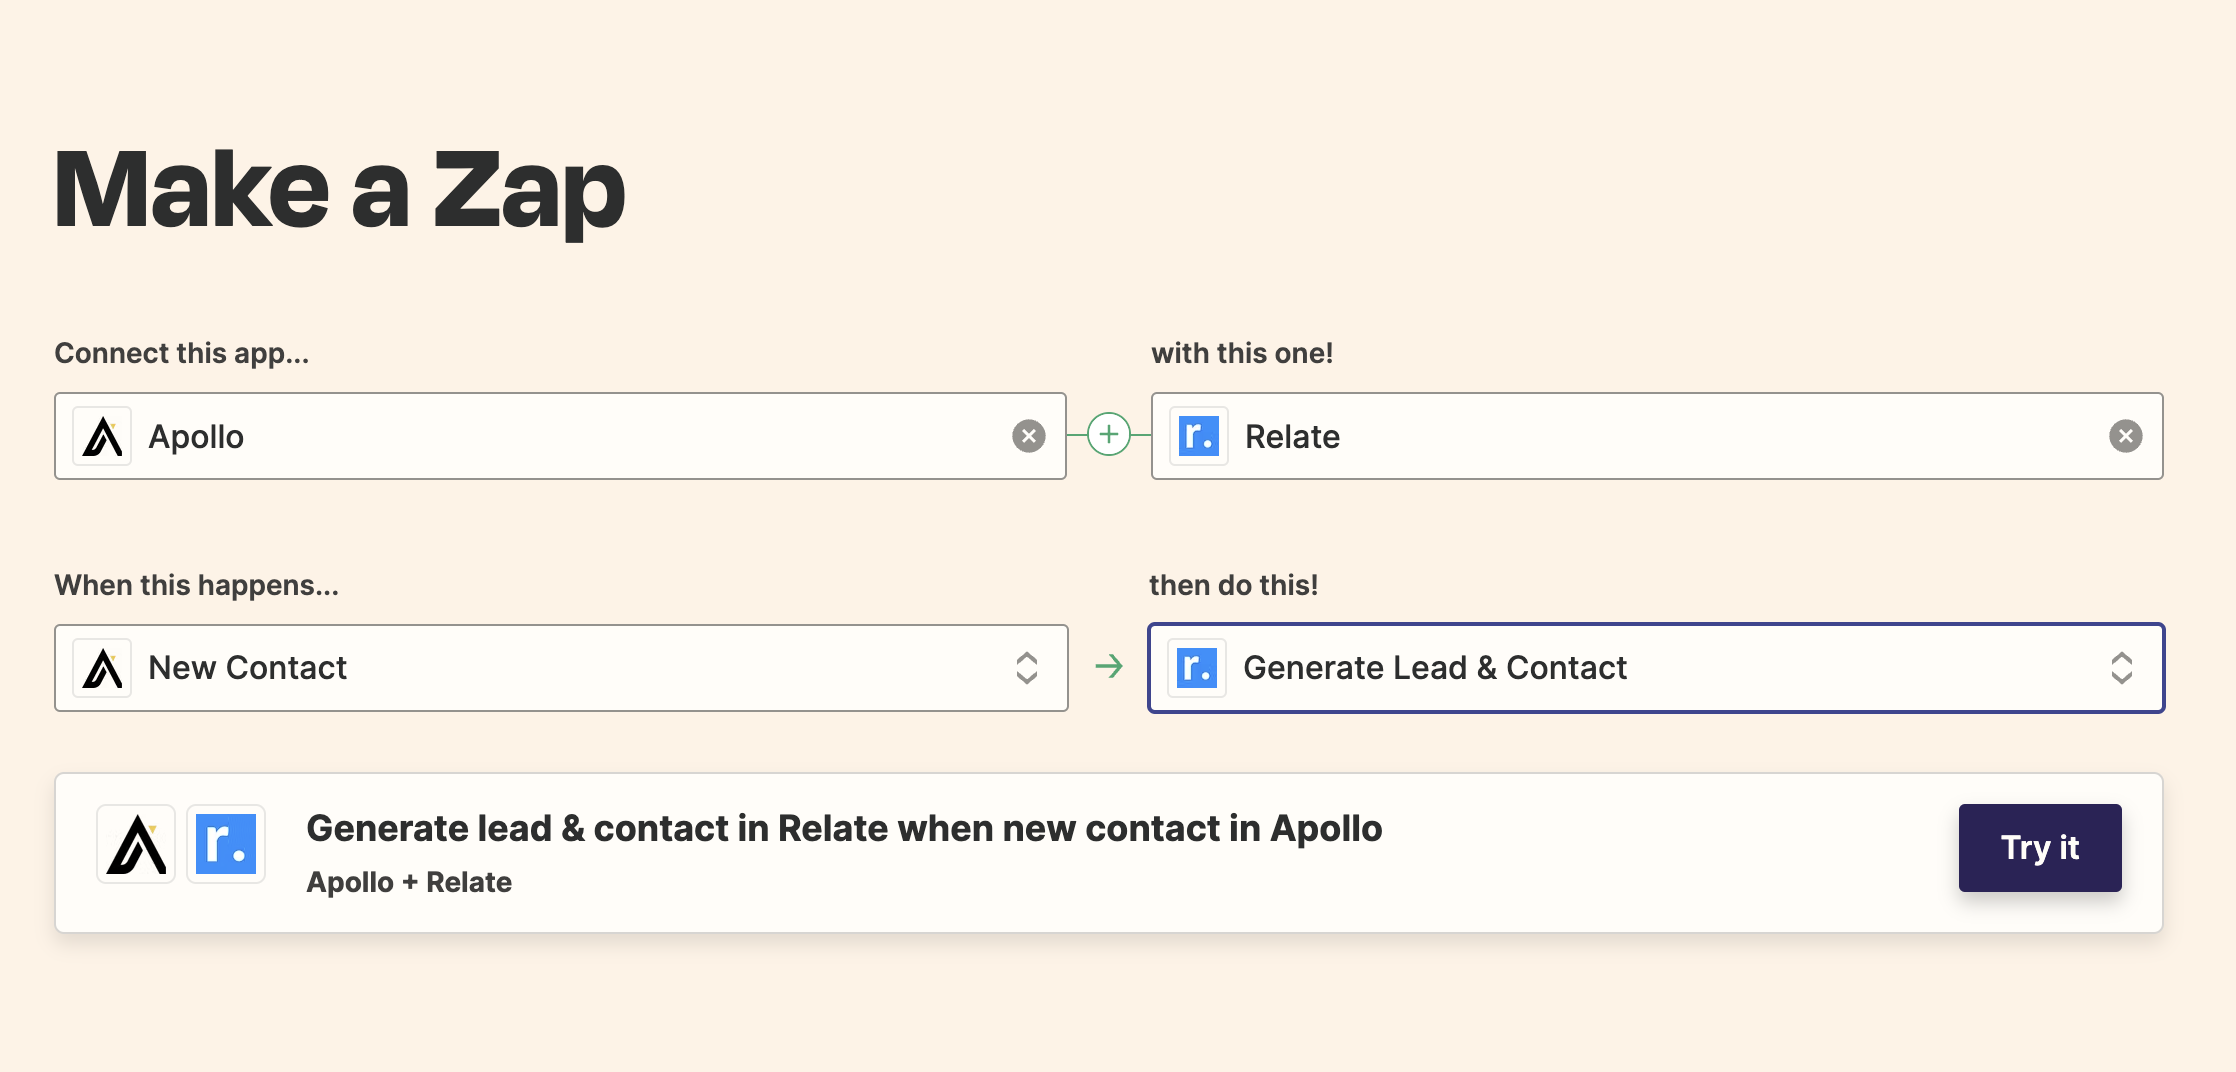
2. Find your API keys
To authenticate yourself, you’ll need to provide API keys for both Apollo and Relate.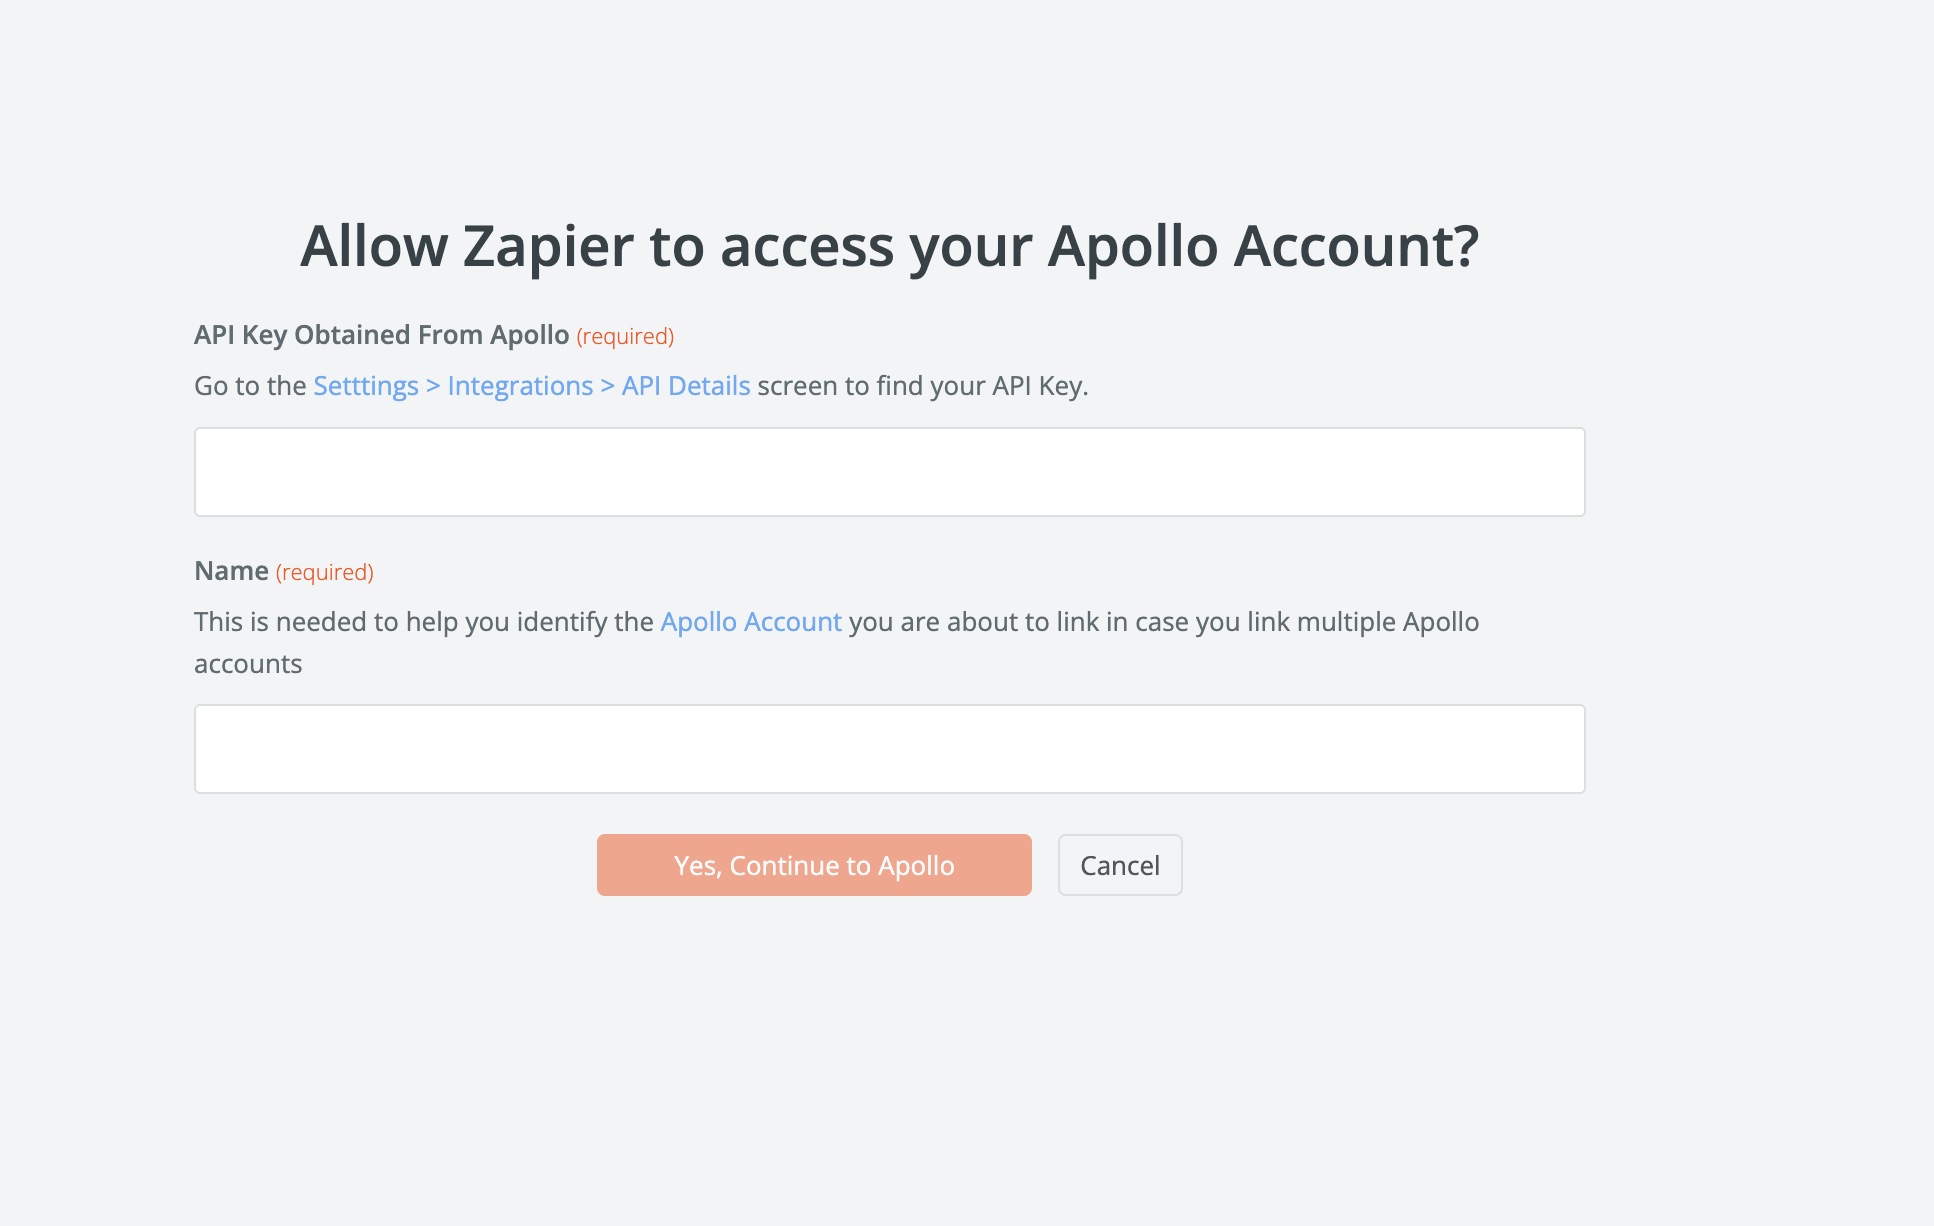
Get your Apollo API key
Click to Choose an Account with Apollo.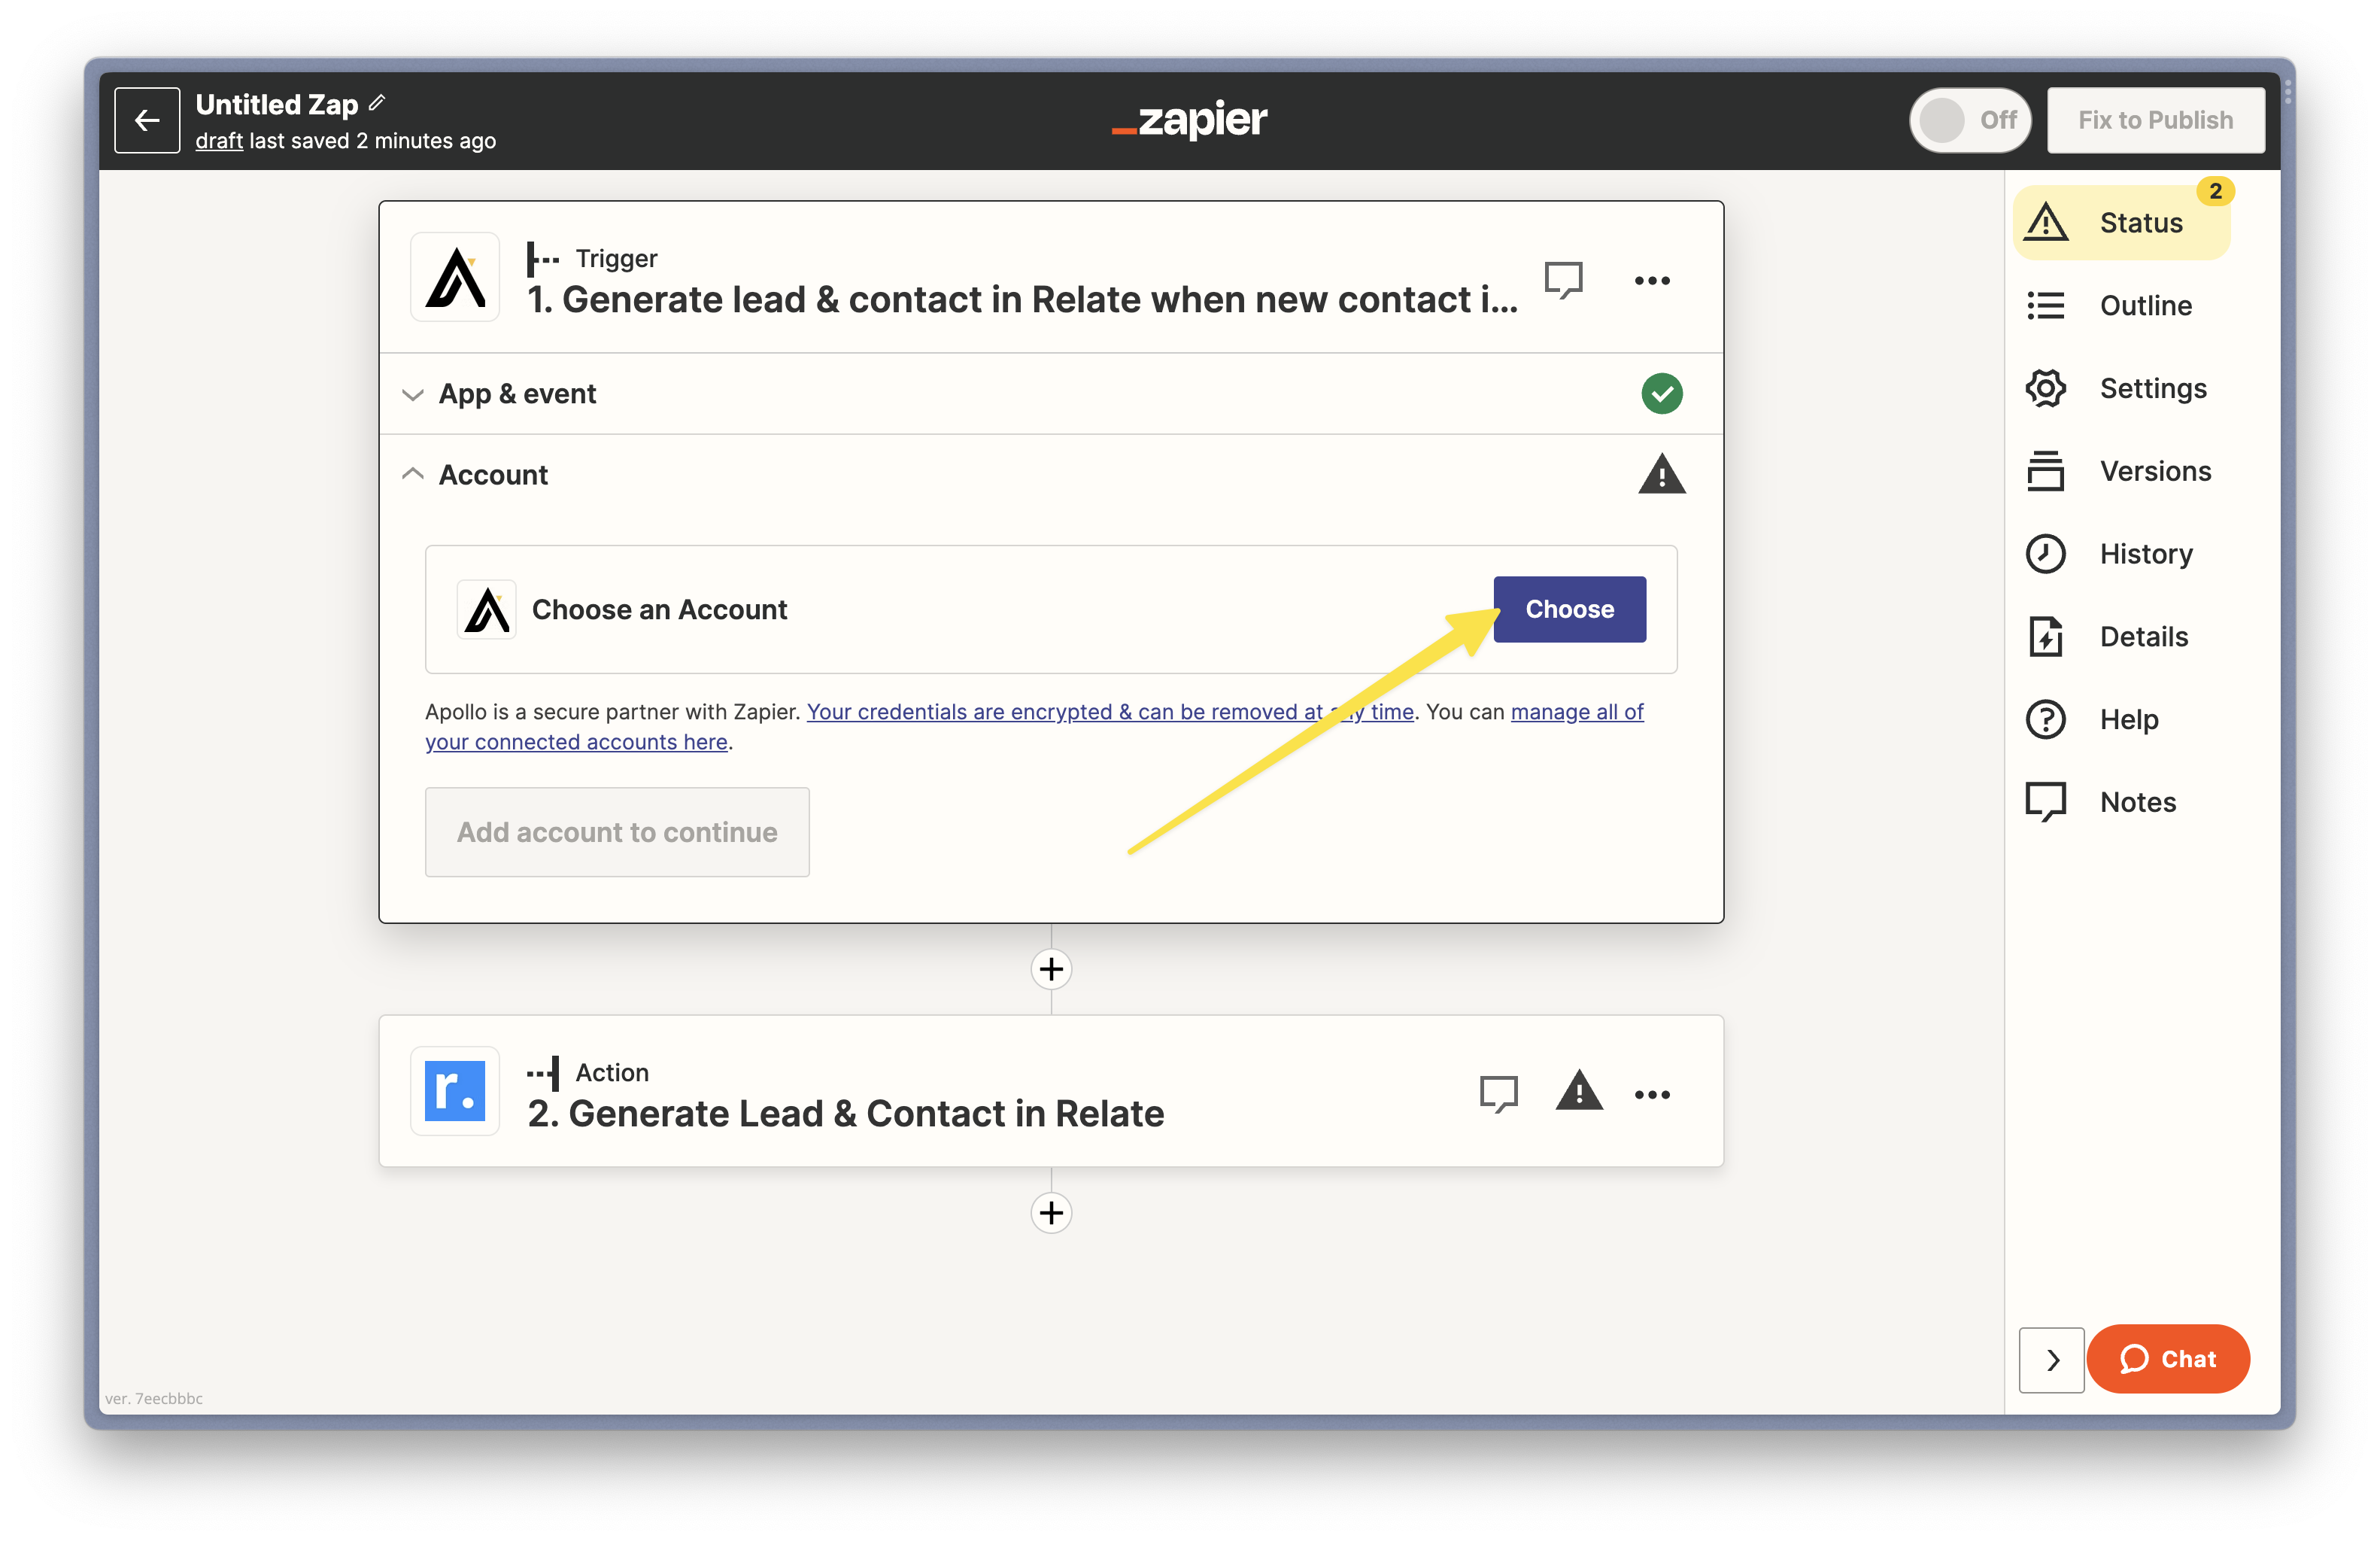
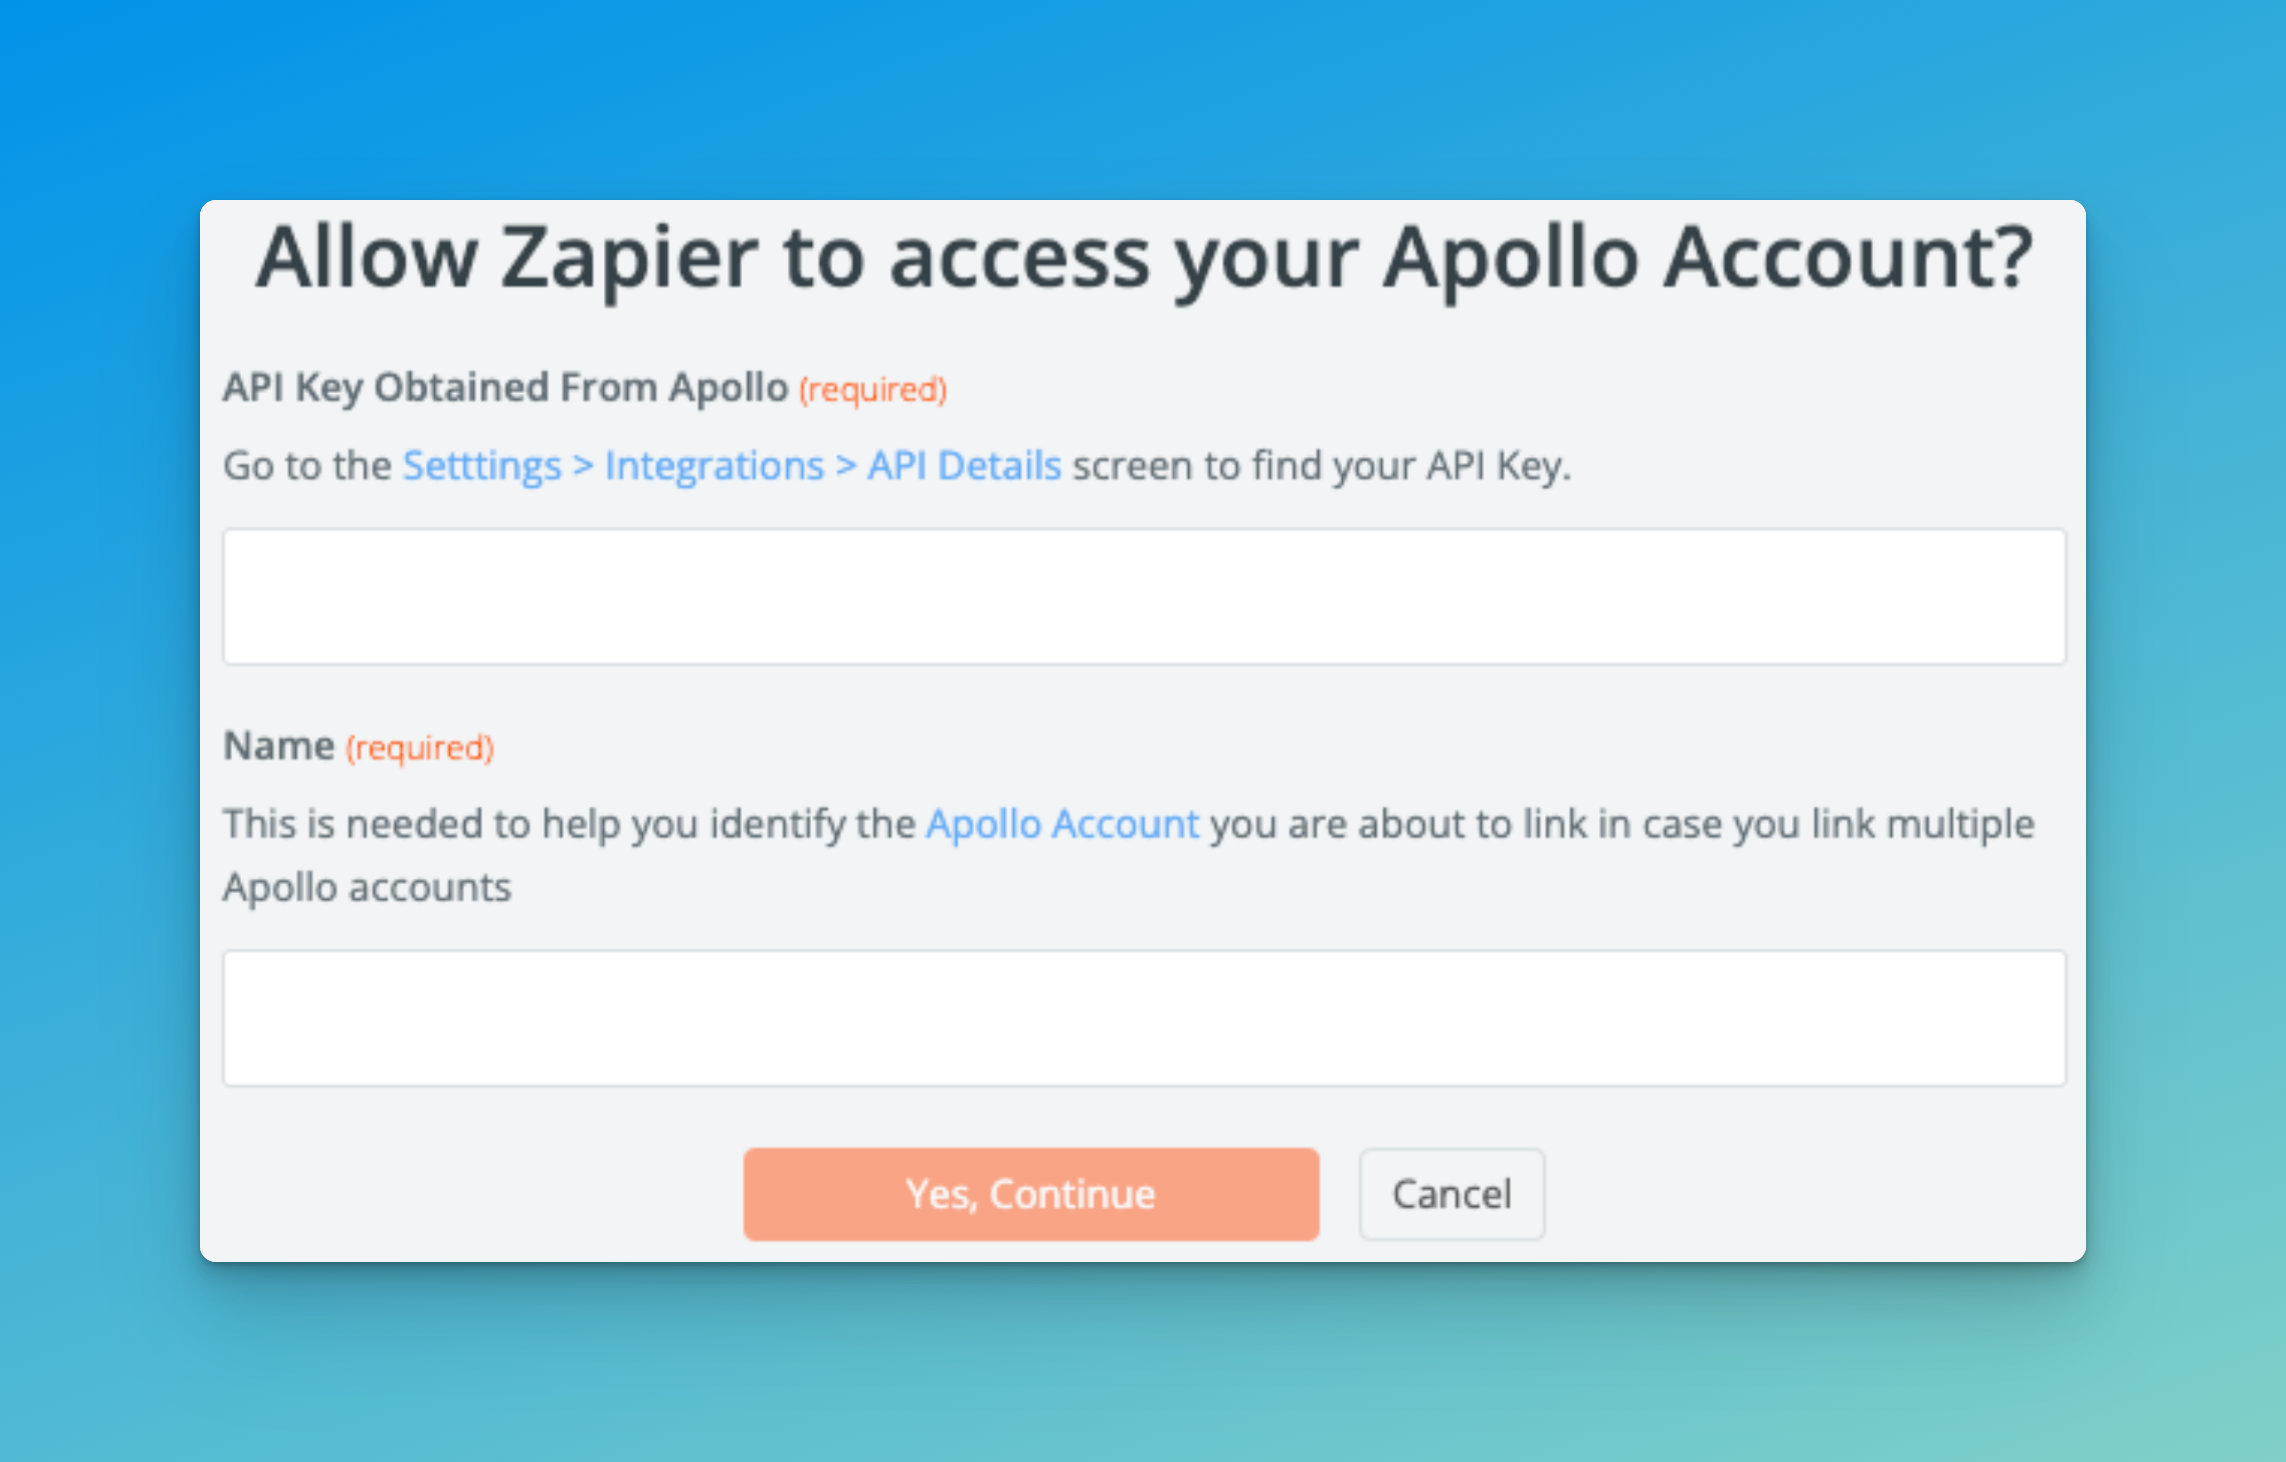
Get your Relate API key
Next, you need to type in the Relate API Key. Just like you did it with Apollo API key, choose an Account with Relate.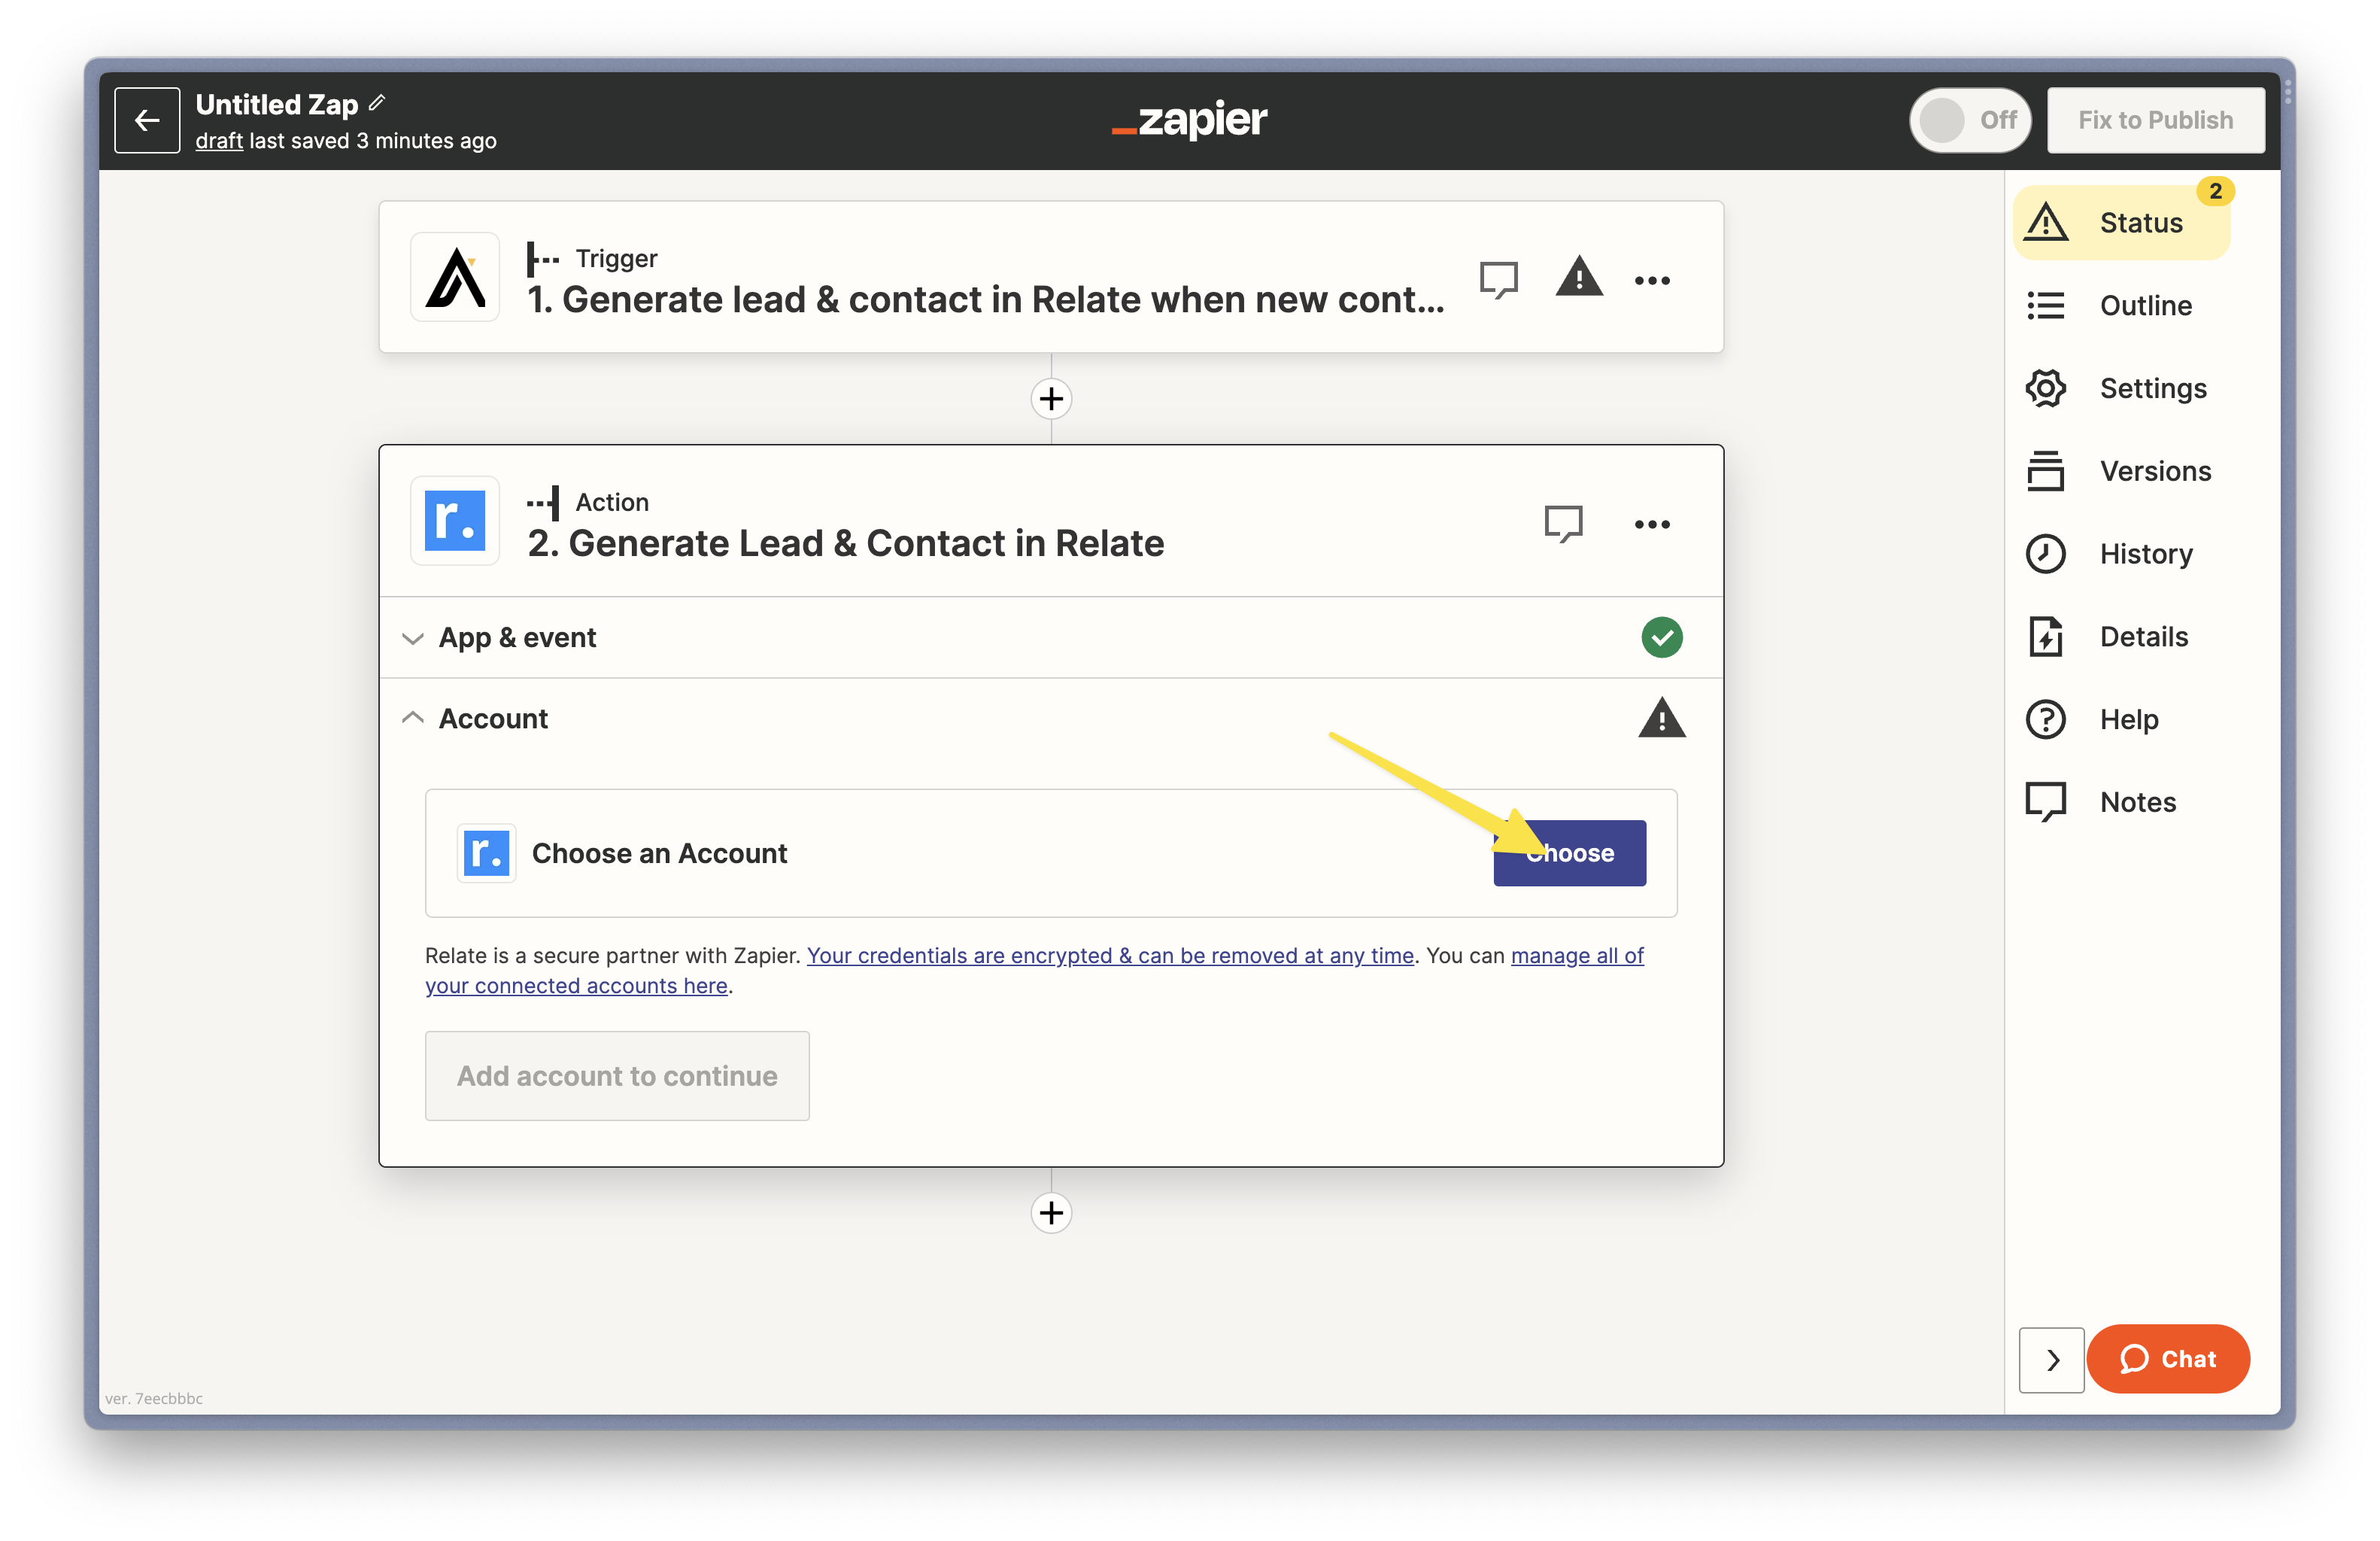
Generate a new API Key.
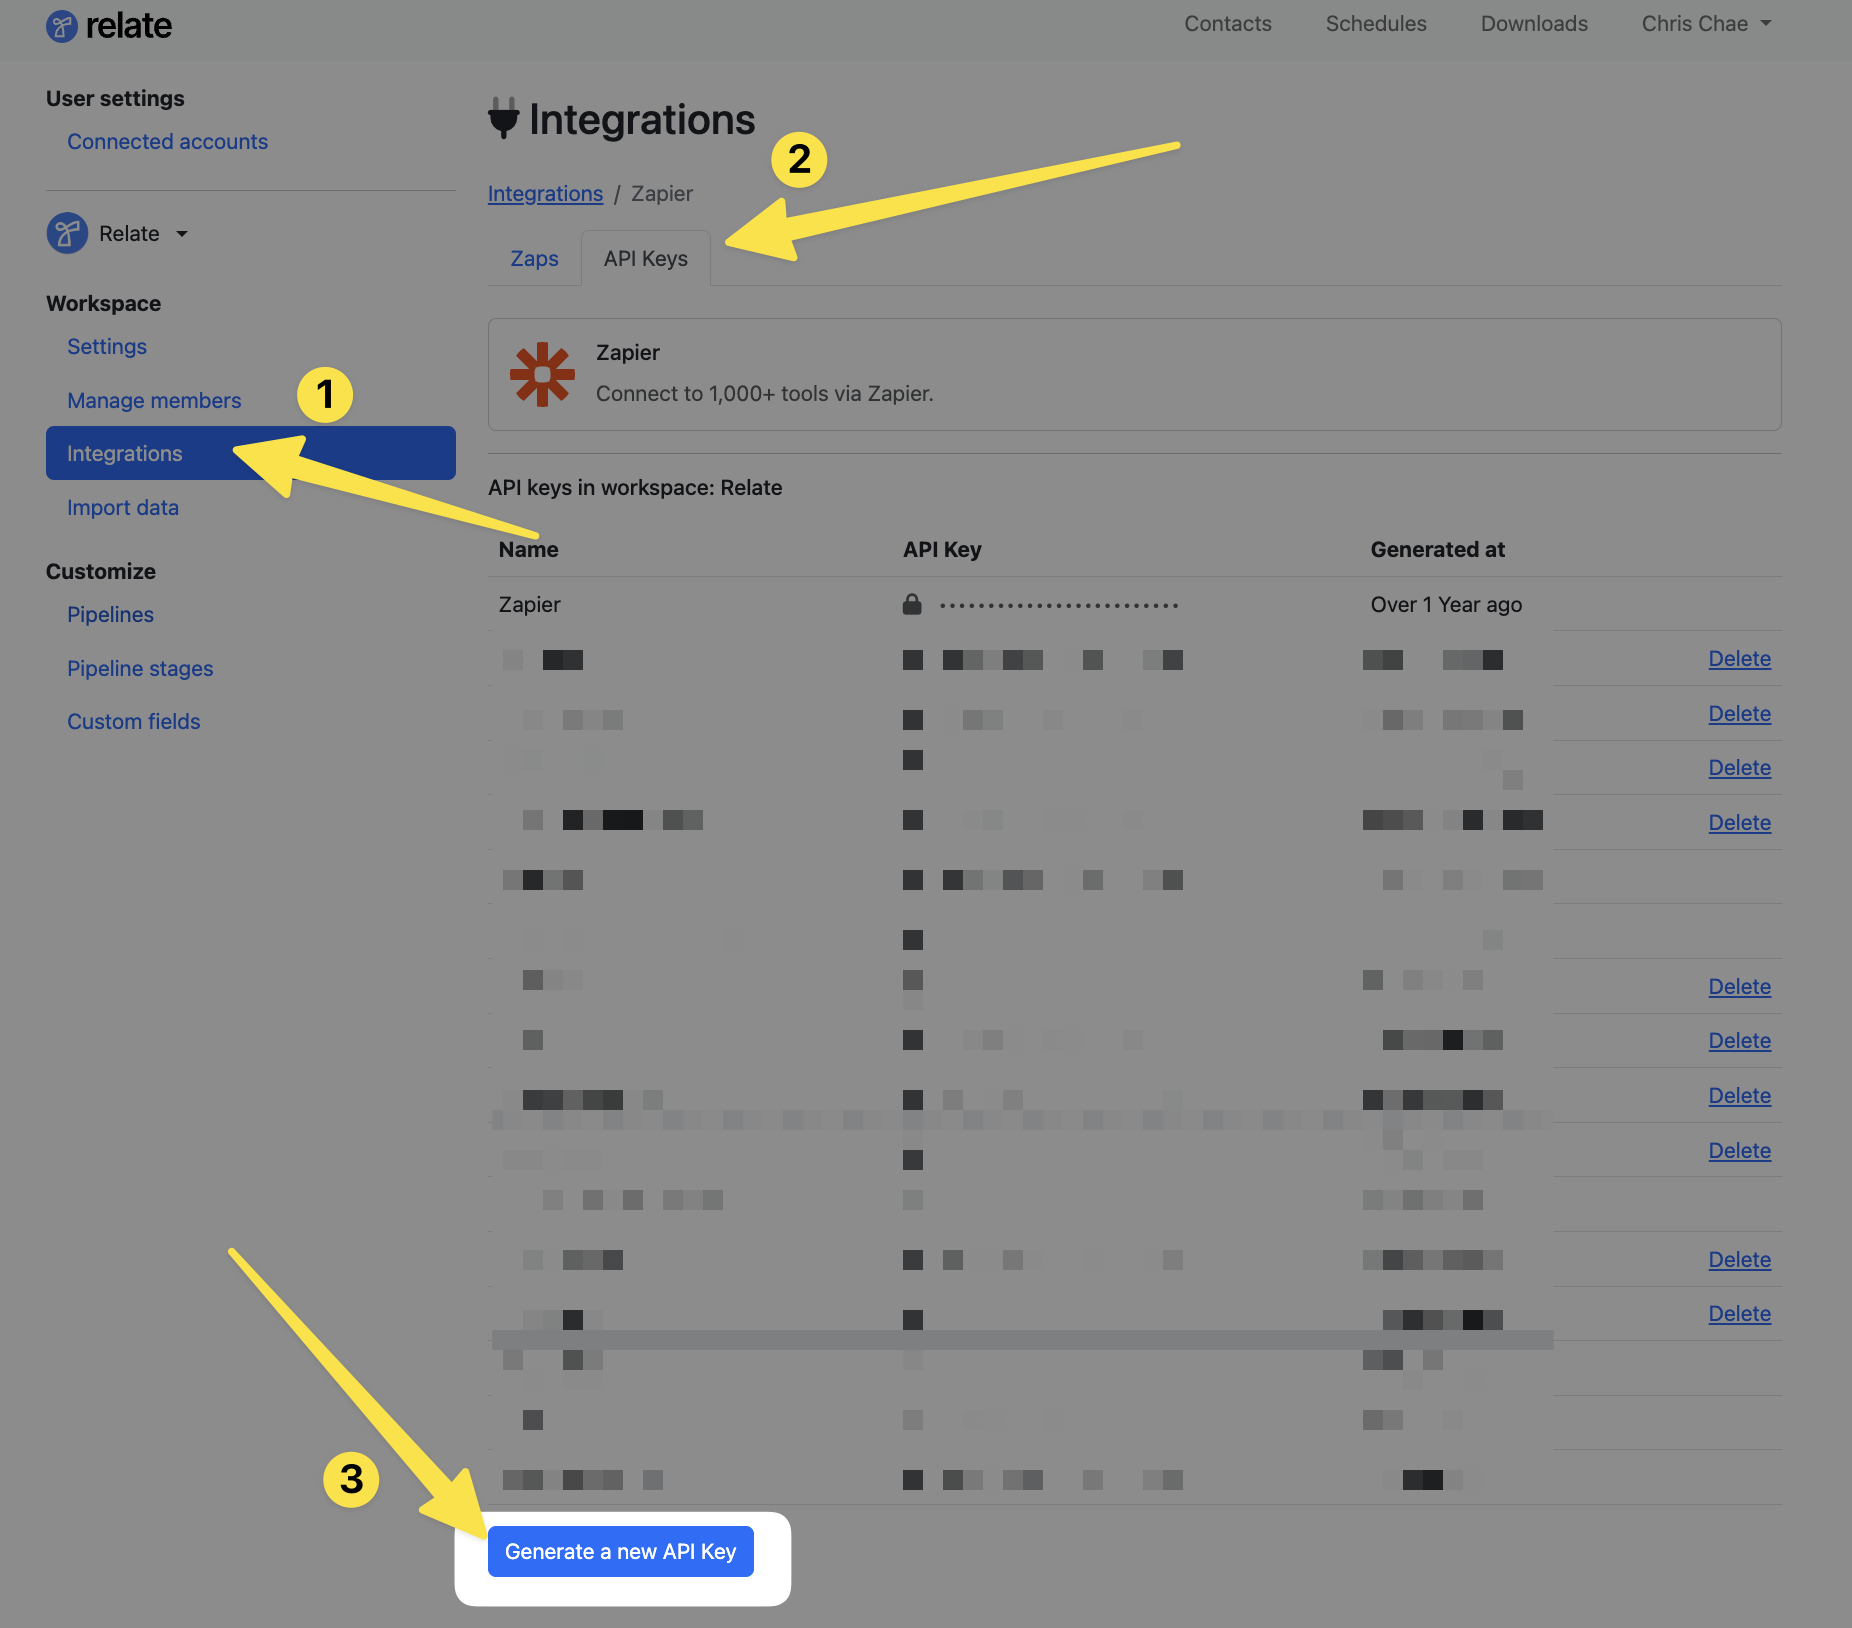
I stored this key to save.
Set up Zapier Trigger and Action
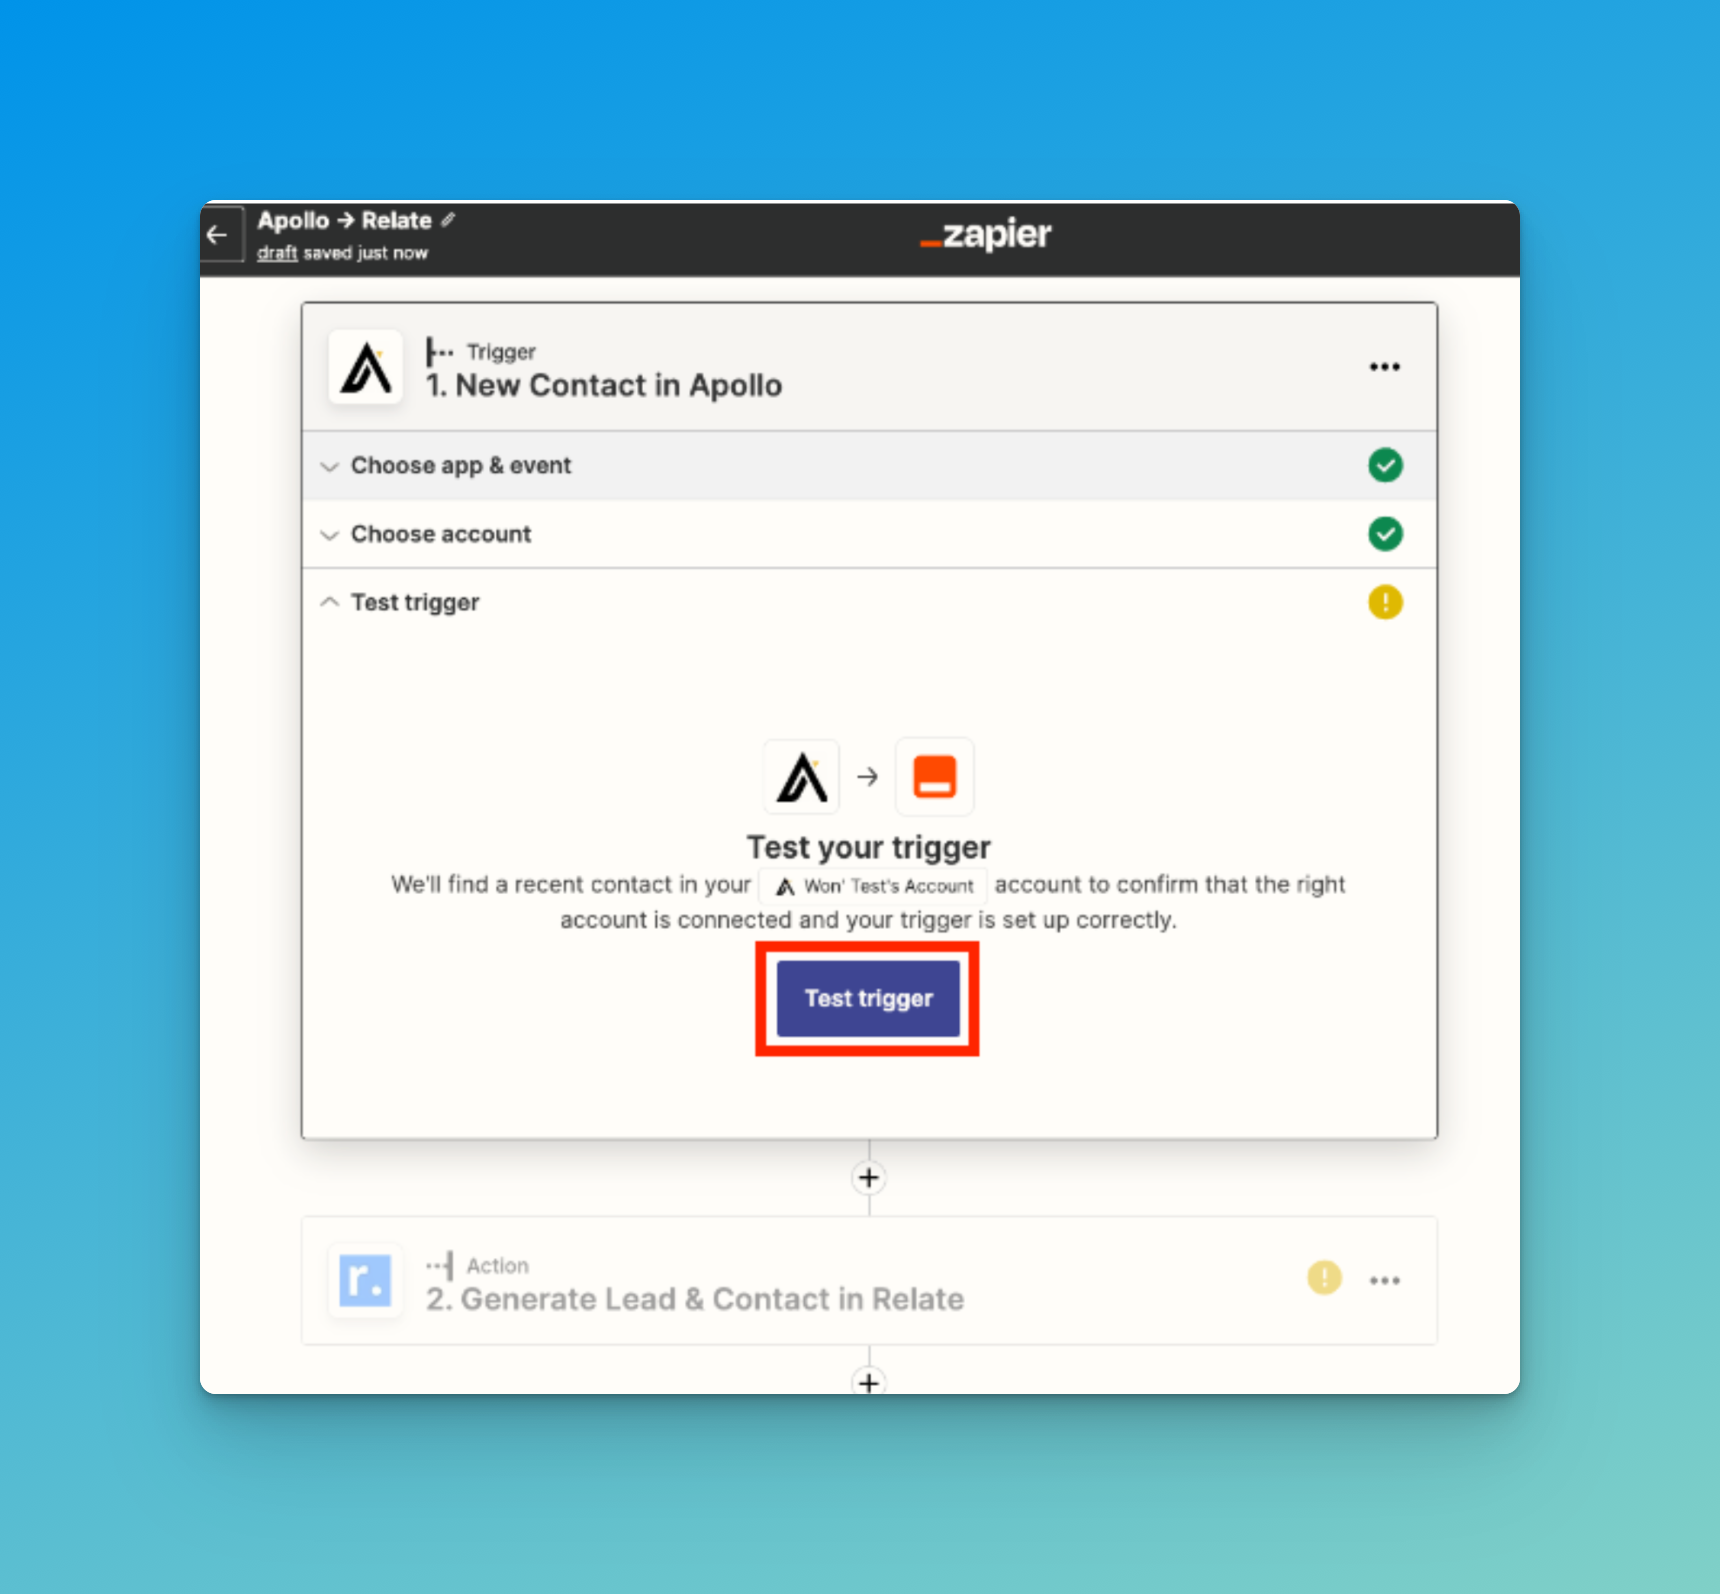
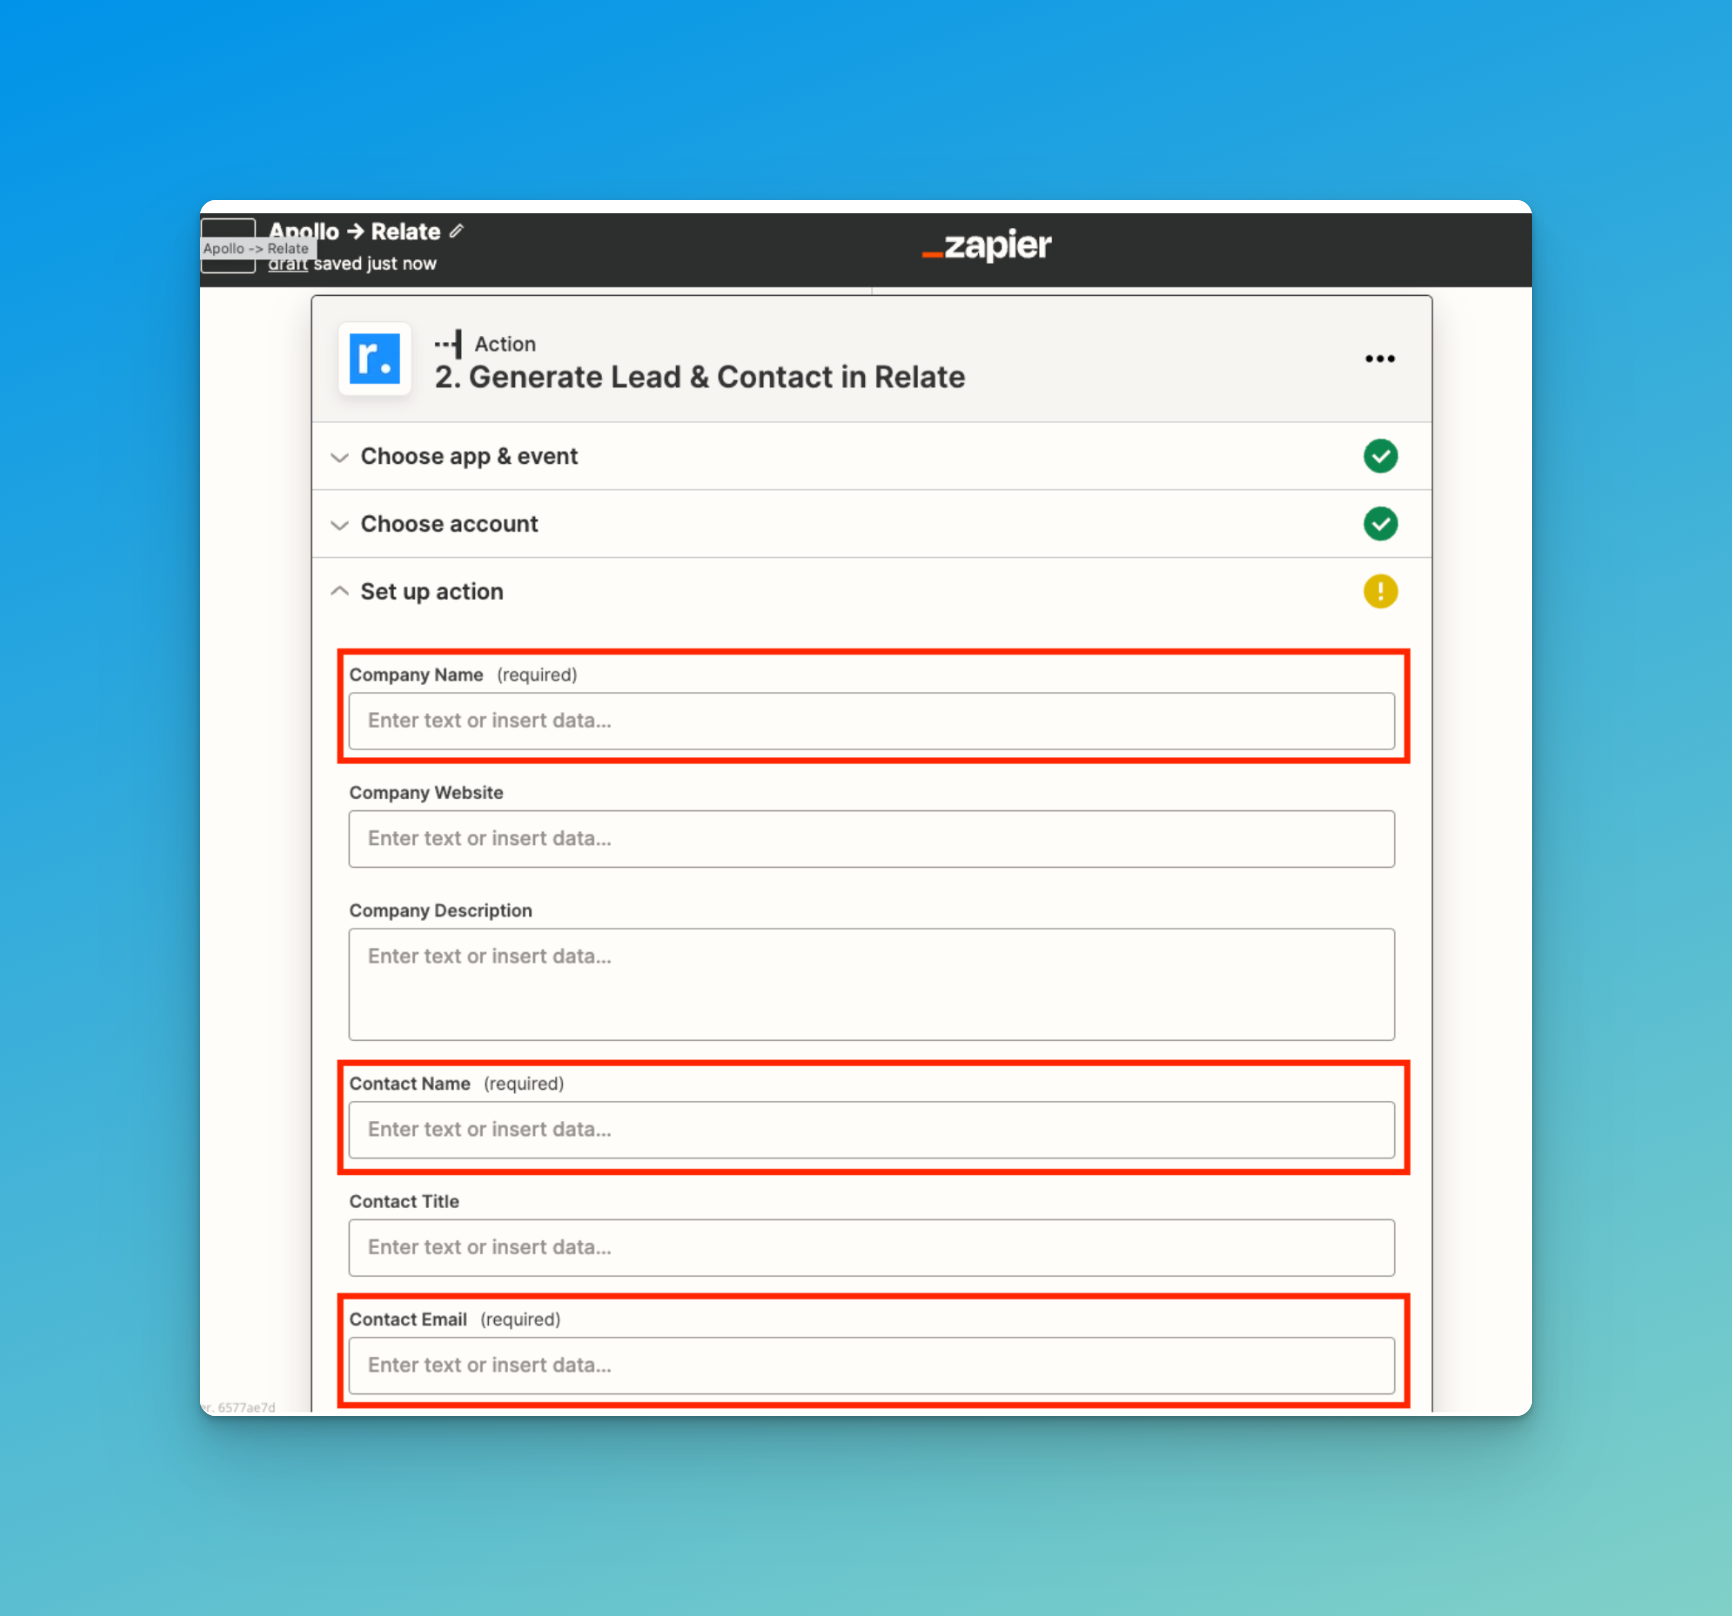
- Company Name
- Contact Name
- Contact Email
Automatically create a new deal
To automatically create a new corresponding deal, you need to add information in the Deal section. (e.g., Deal Assignee, Deal Status, etc.)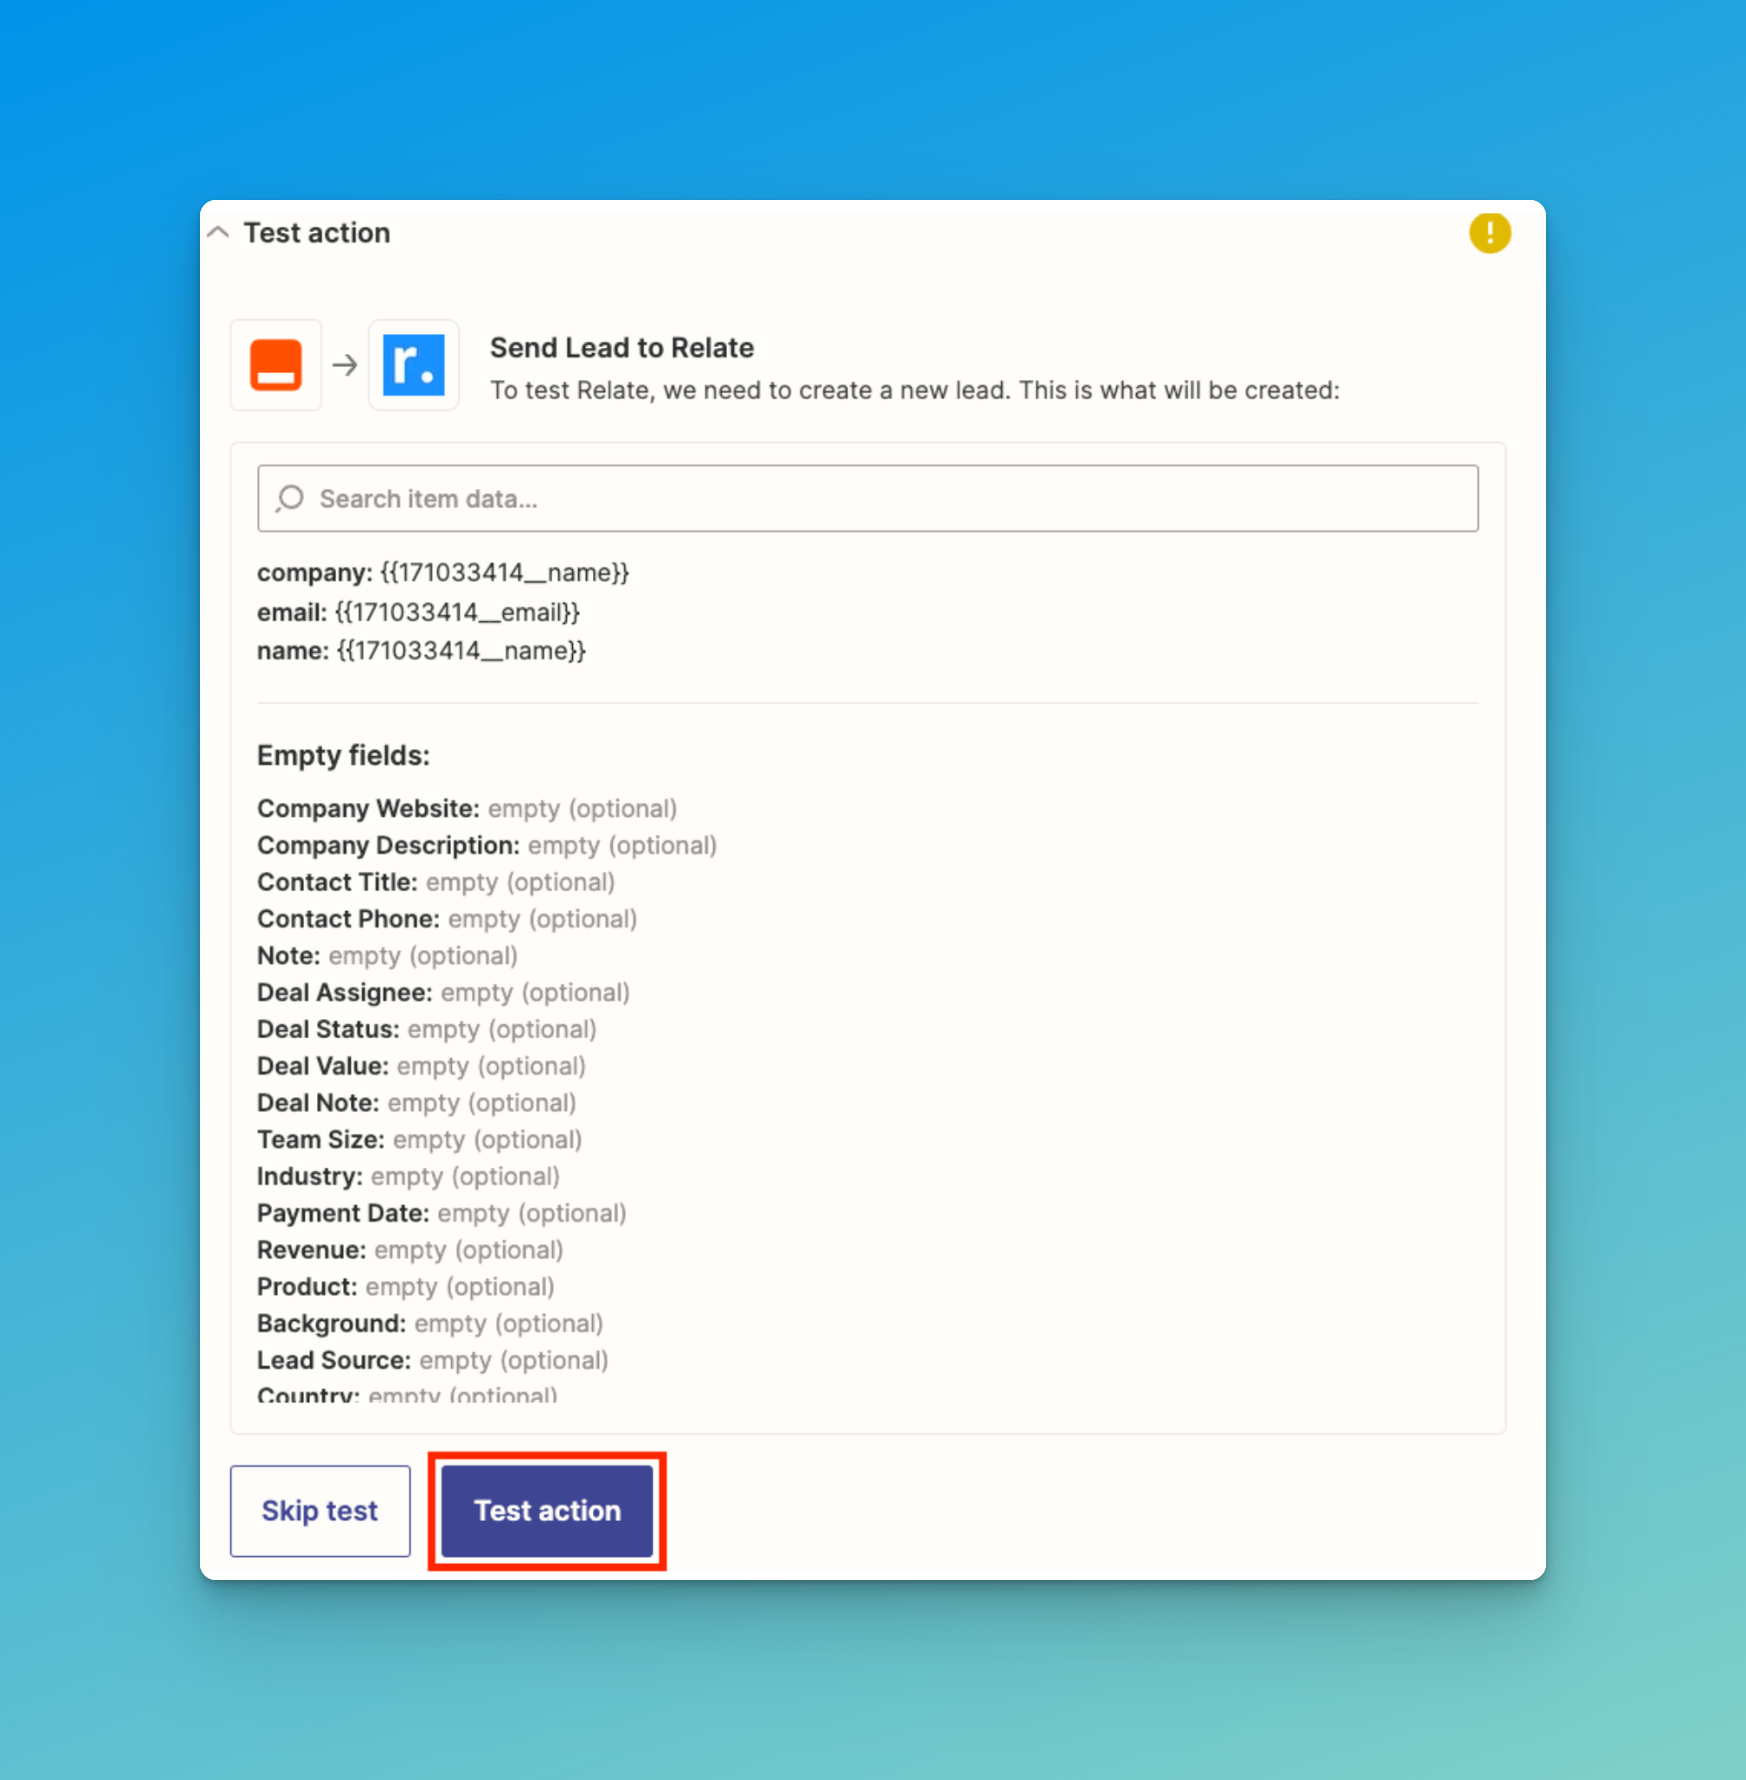
Publish the Zap
Lastly, click the “Test action” button to test, and publish the Zap. You can change the name of the Zap in the top left corner.Using this integration
One of the easiest ways to enjoy this integration is using Apollo’s Linkedin integration. You can automatically add any Linkedin profile to Relate. This will also reveal the Linkedin profile’s email address.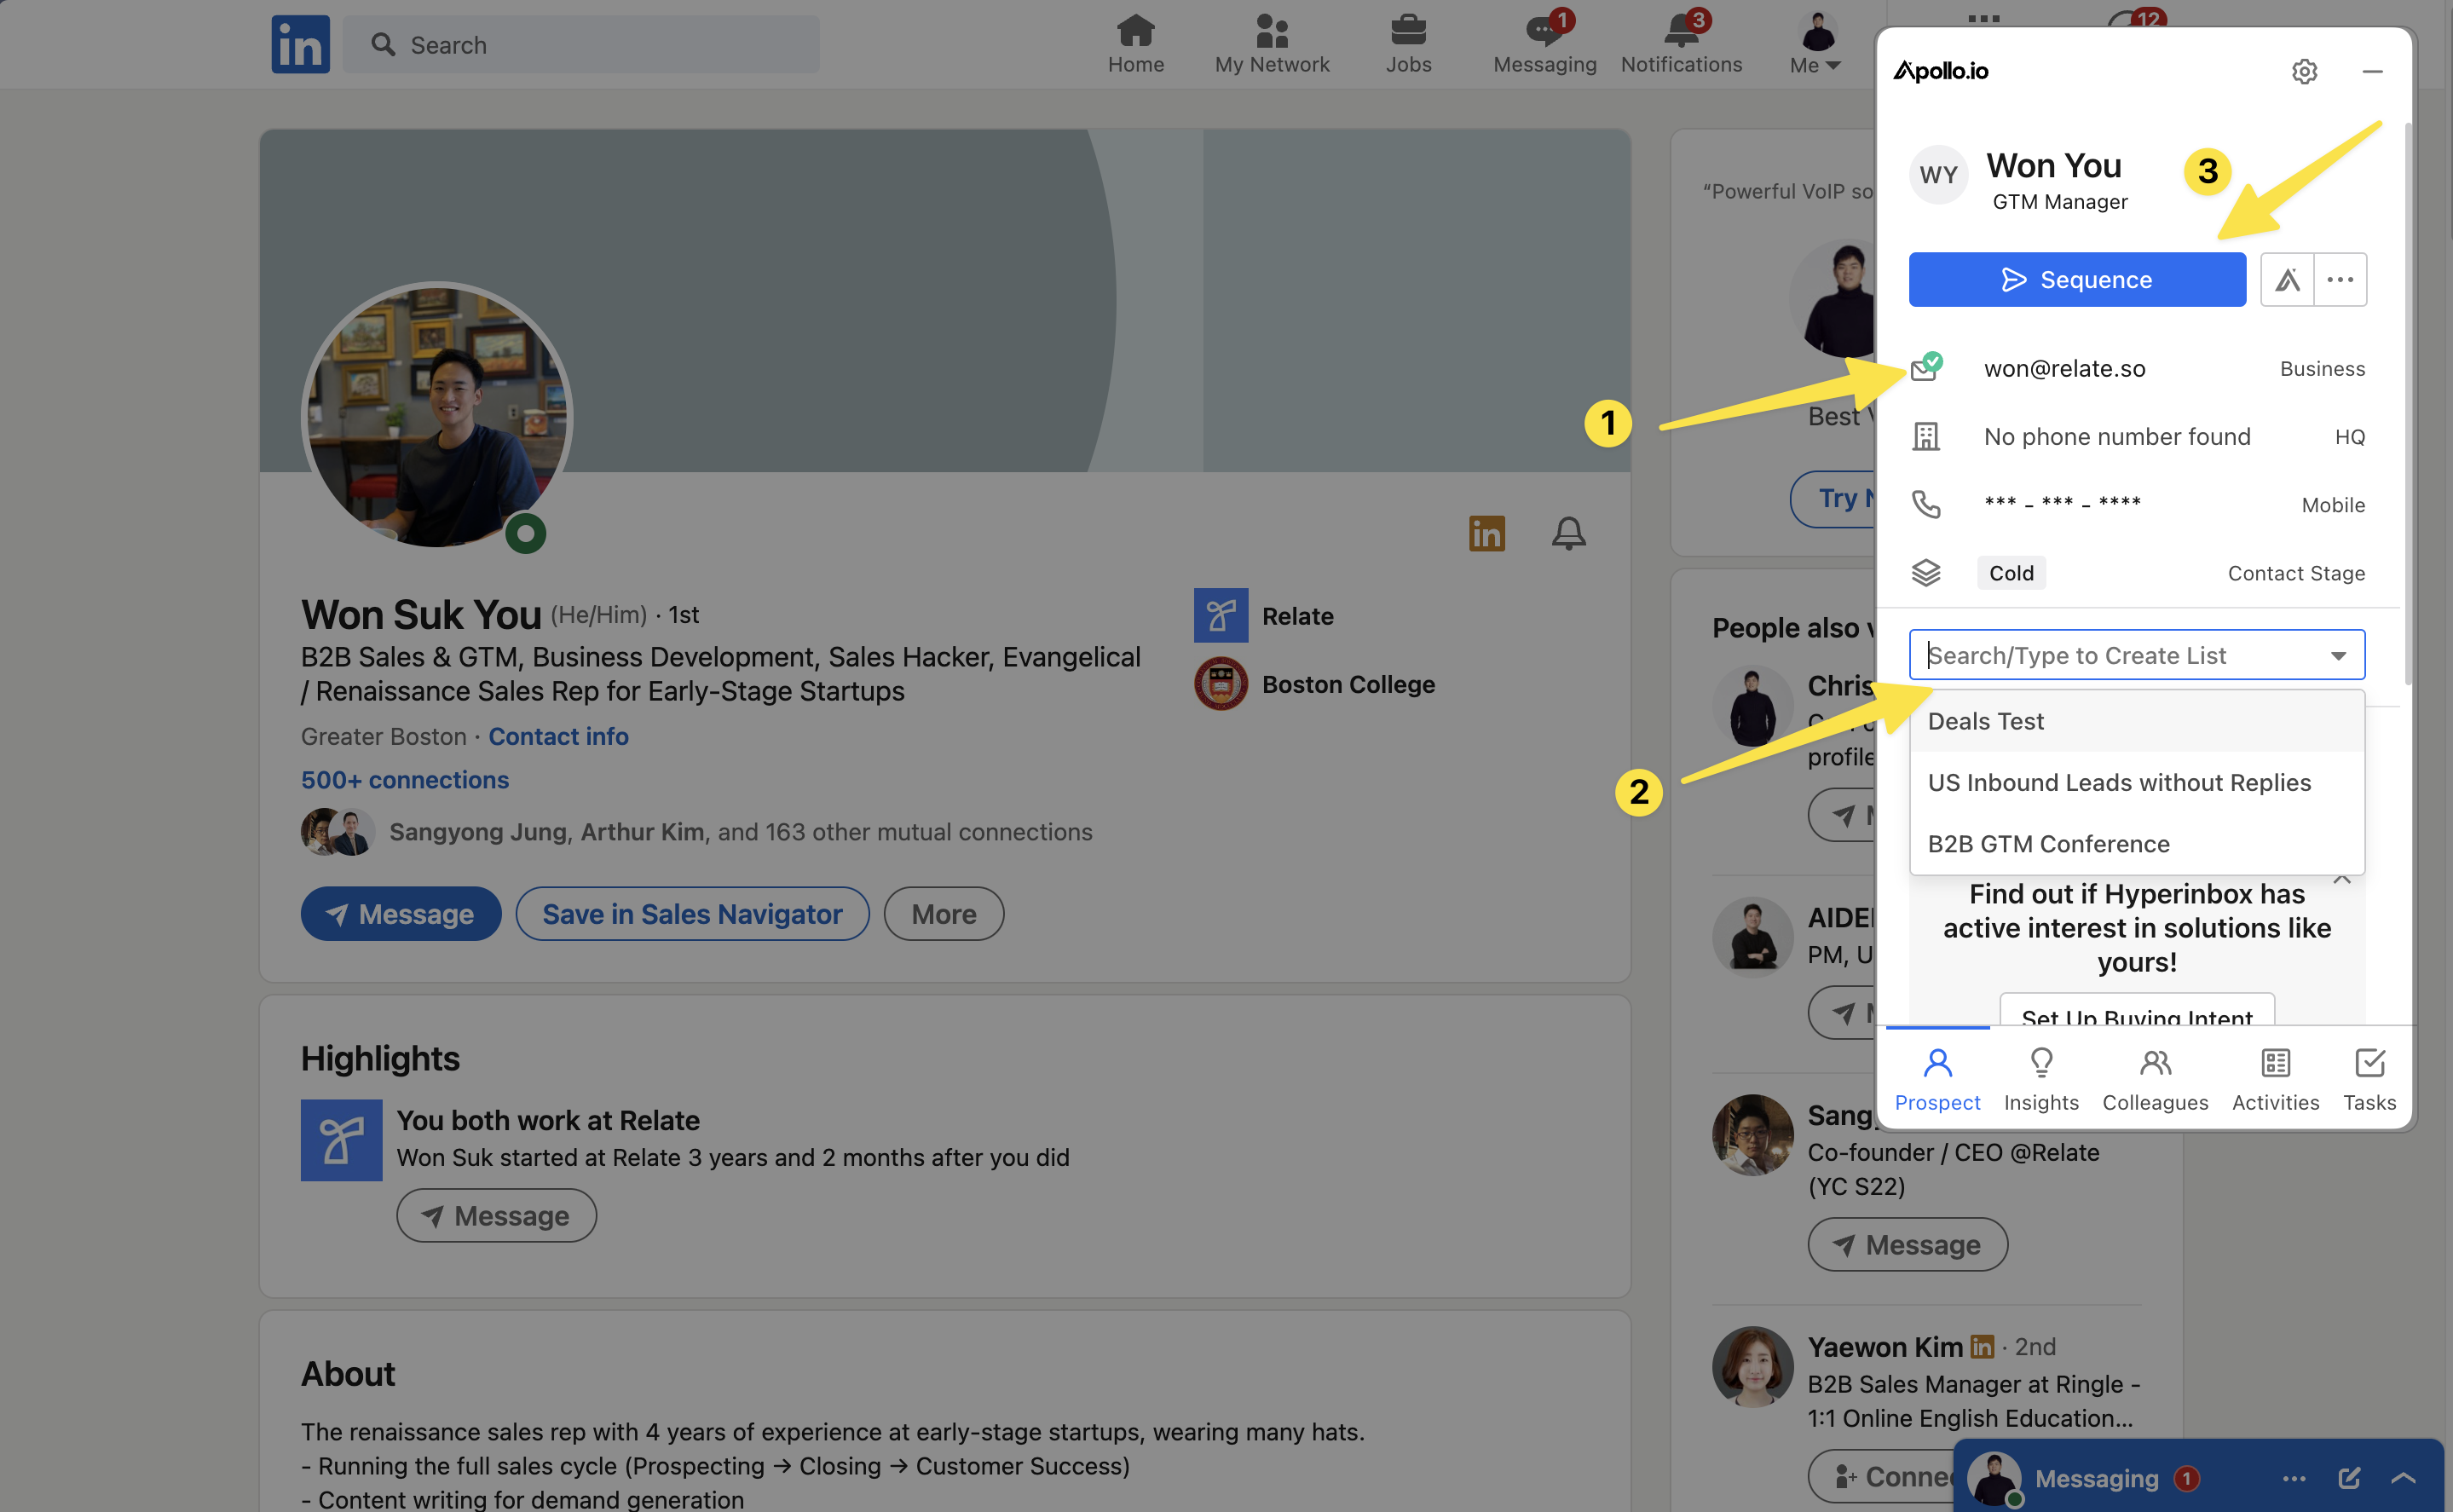
- install Apollo’s Chrome extension app.
- Find a Linkedin profile you’d like to add to Relate.
- Add the profile using Apollo’s chrome extension tool.
- Optionally, you can choose a list to add the profile to.
- If you’d like to use Apollo’s email sequence feature, you can directly add the profile to a sequence in the extension.
Popular Relate integrations via Zapier
Last updated: July 31, 2023