Overview
Processes is a feature that lets you organize different workflows, including sales. Each Entry represents a sales opportunity for the associated Organization/Contact. You don’t make a sale just once, so an Organization/Contact can have multiple processes. Additionally, templates make creating processes easier and faster.Basics
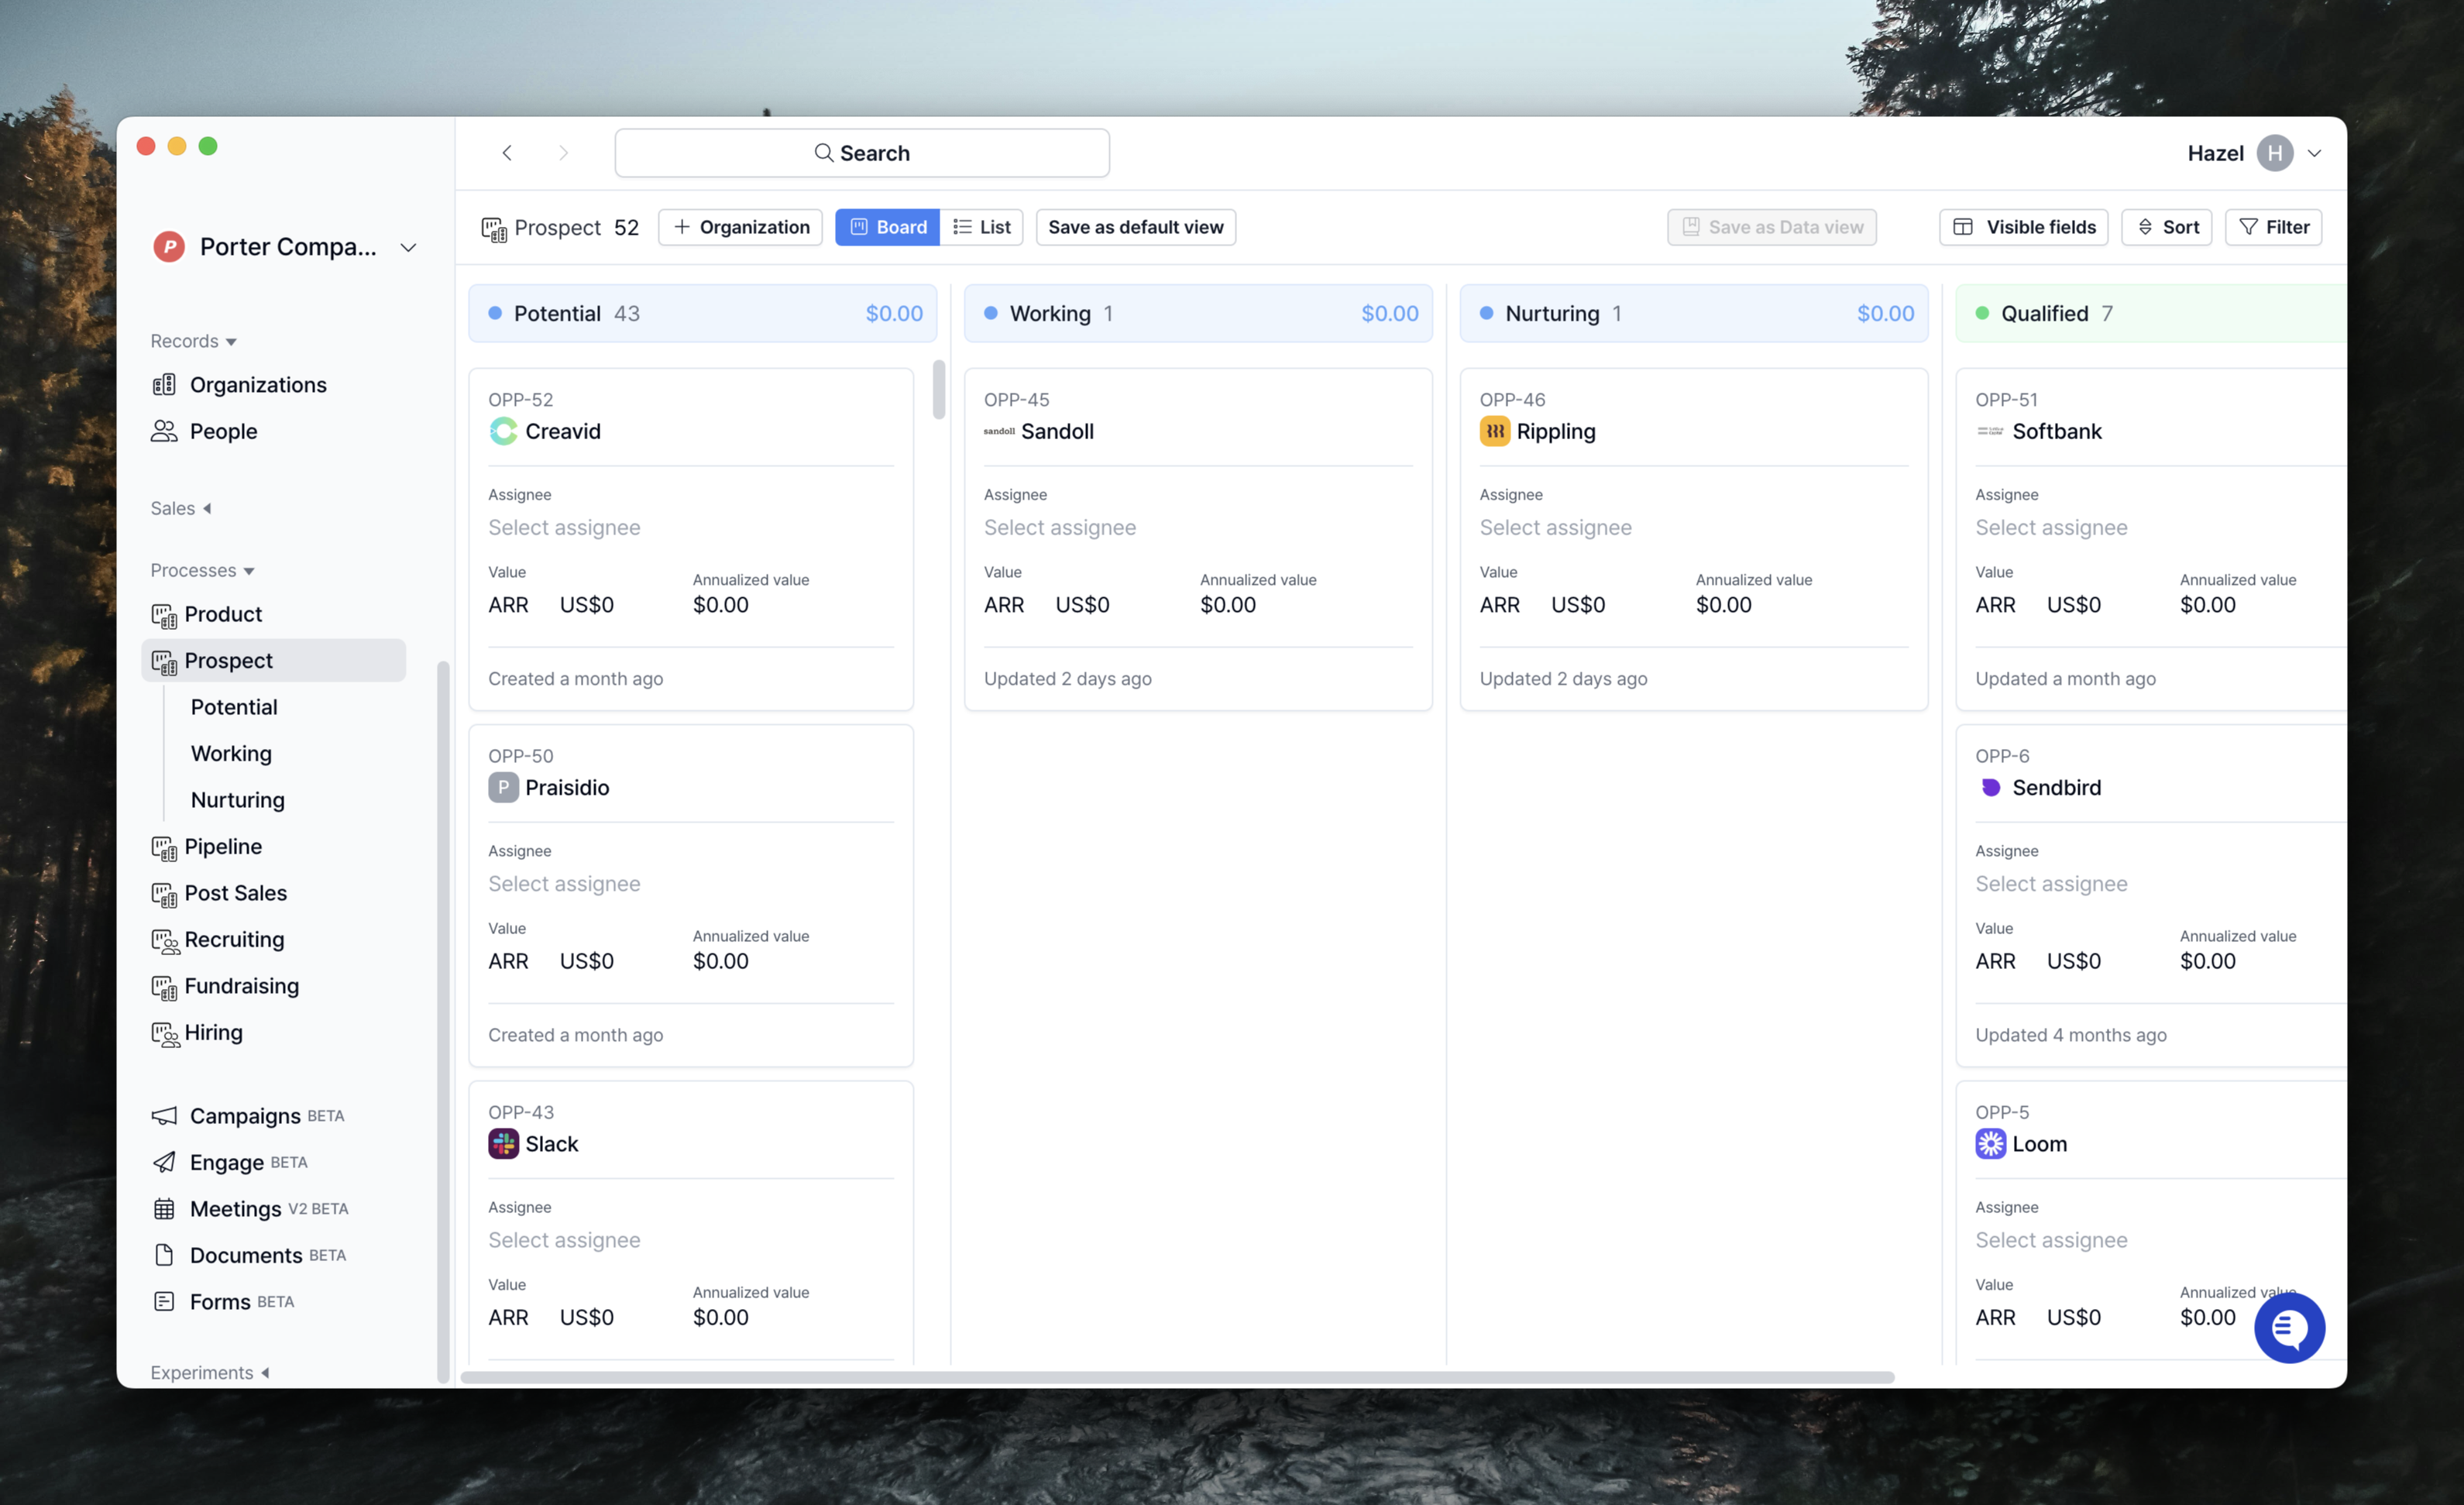
1. Entry?
In a process, an Entry is the data that goes into the process, and the information in Organization/Contact is managed as one entry within the process. This means that in the board view of the process, you can see that a card is one entry.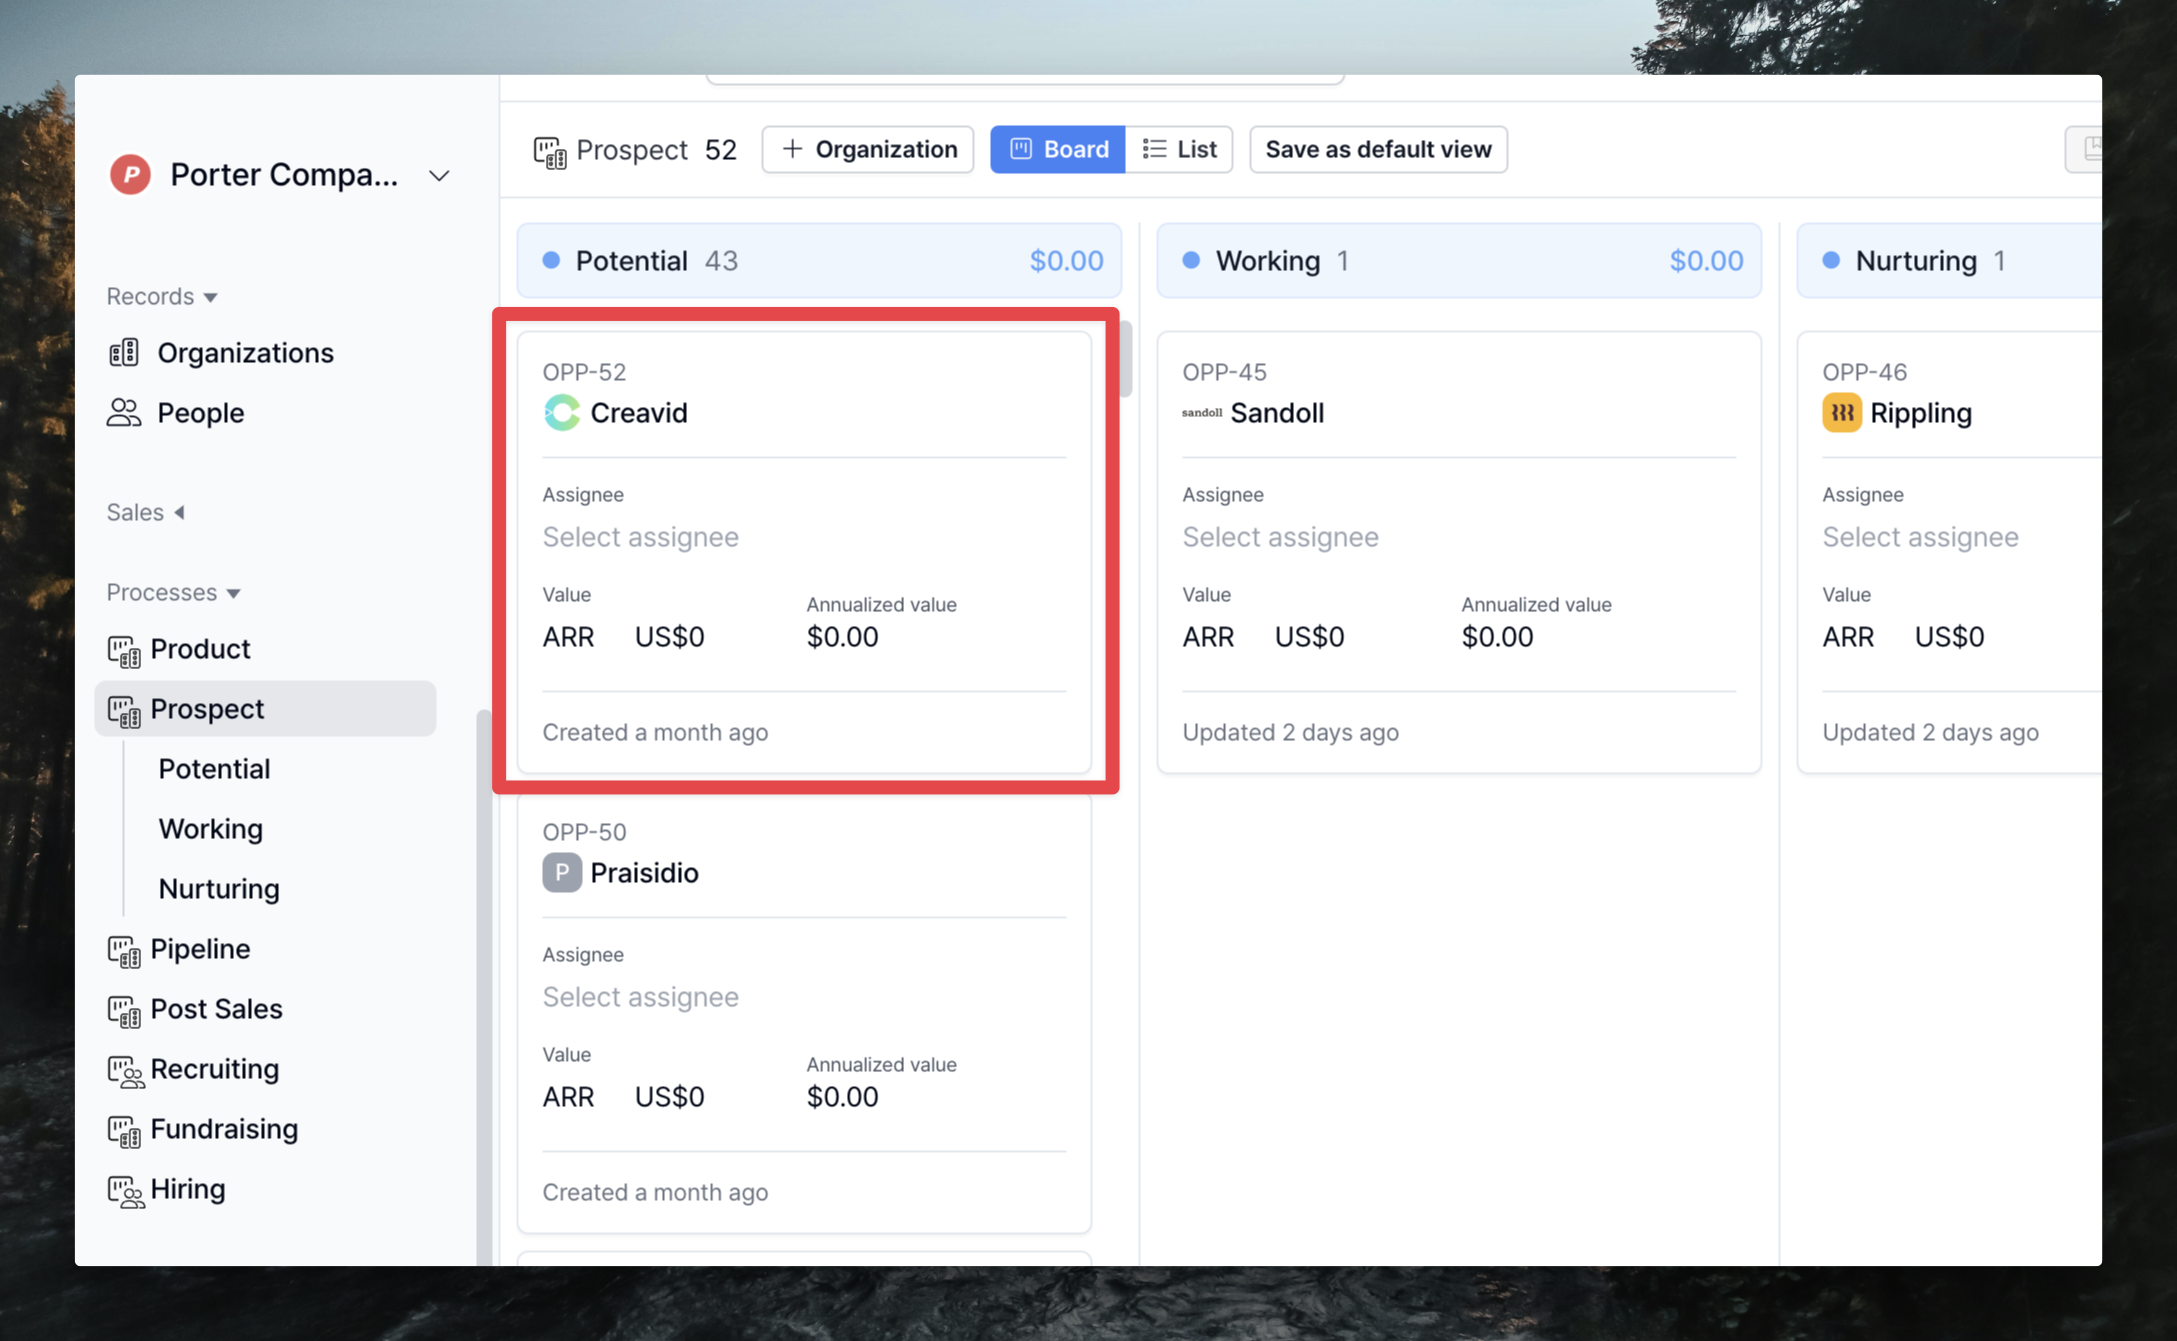
2. Explore the Processes page
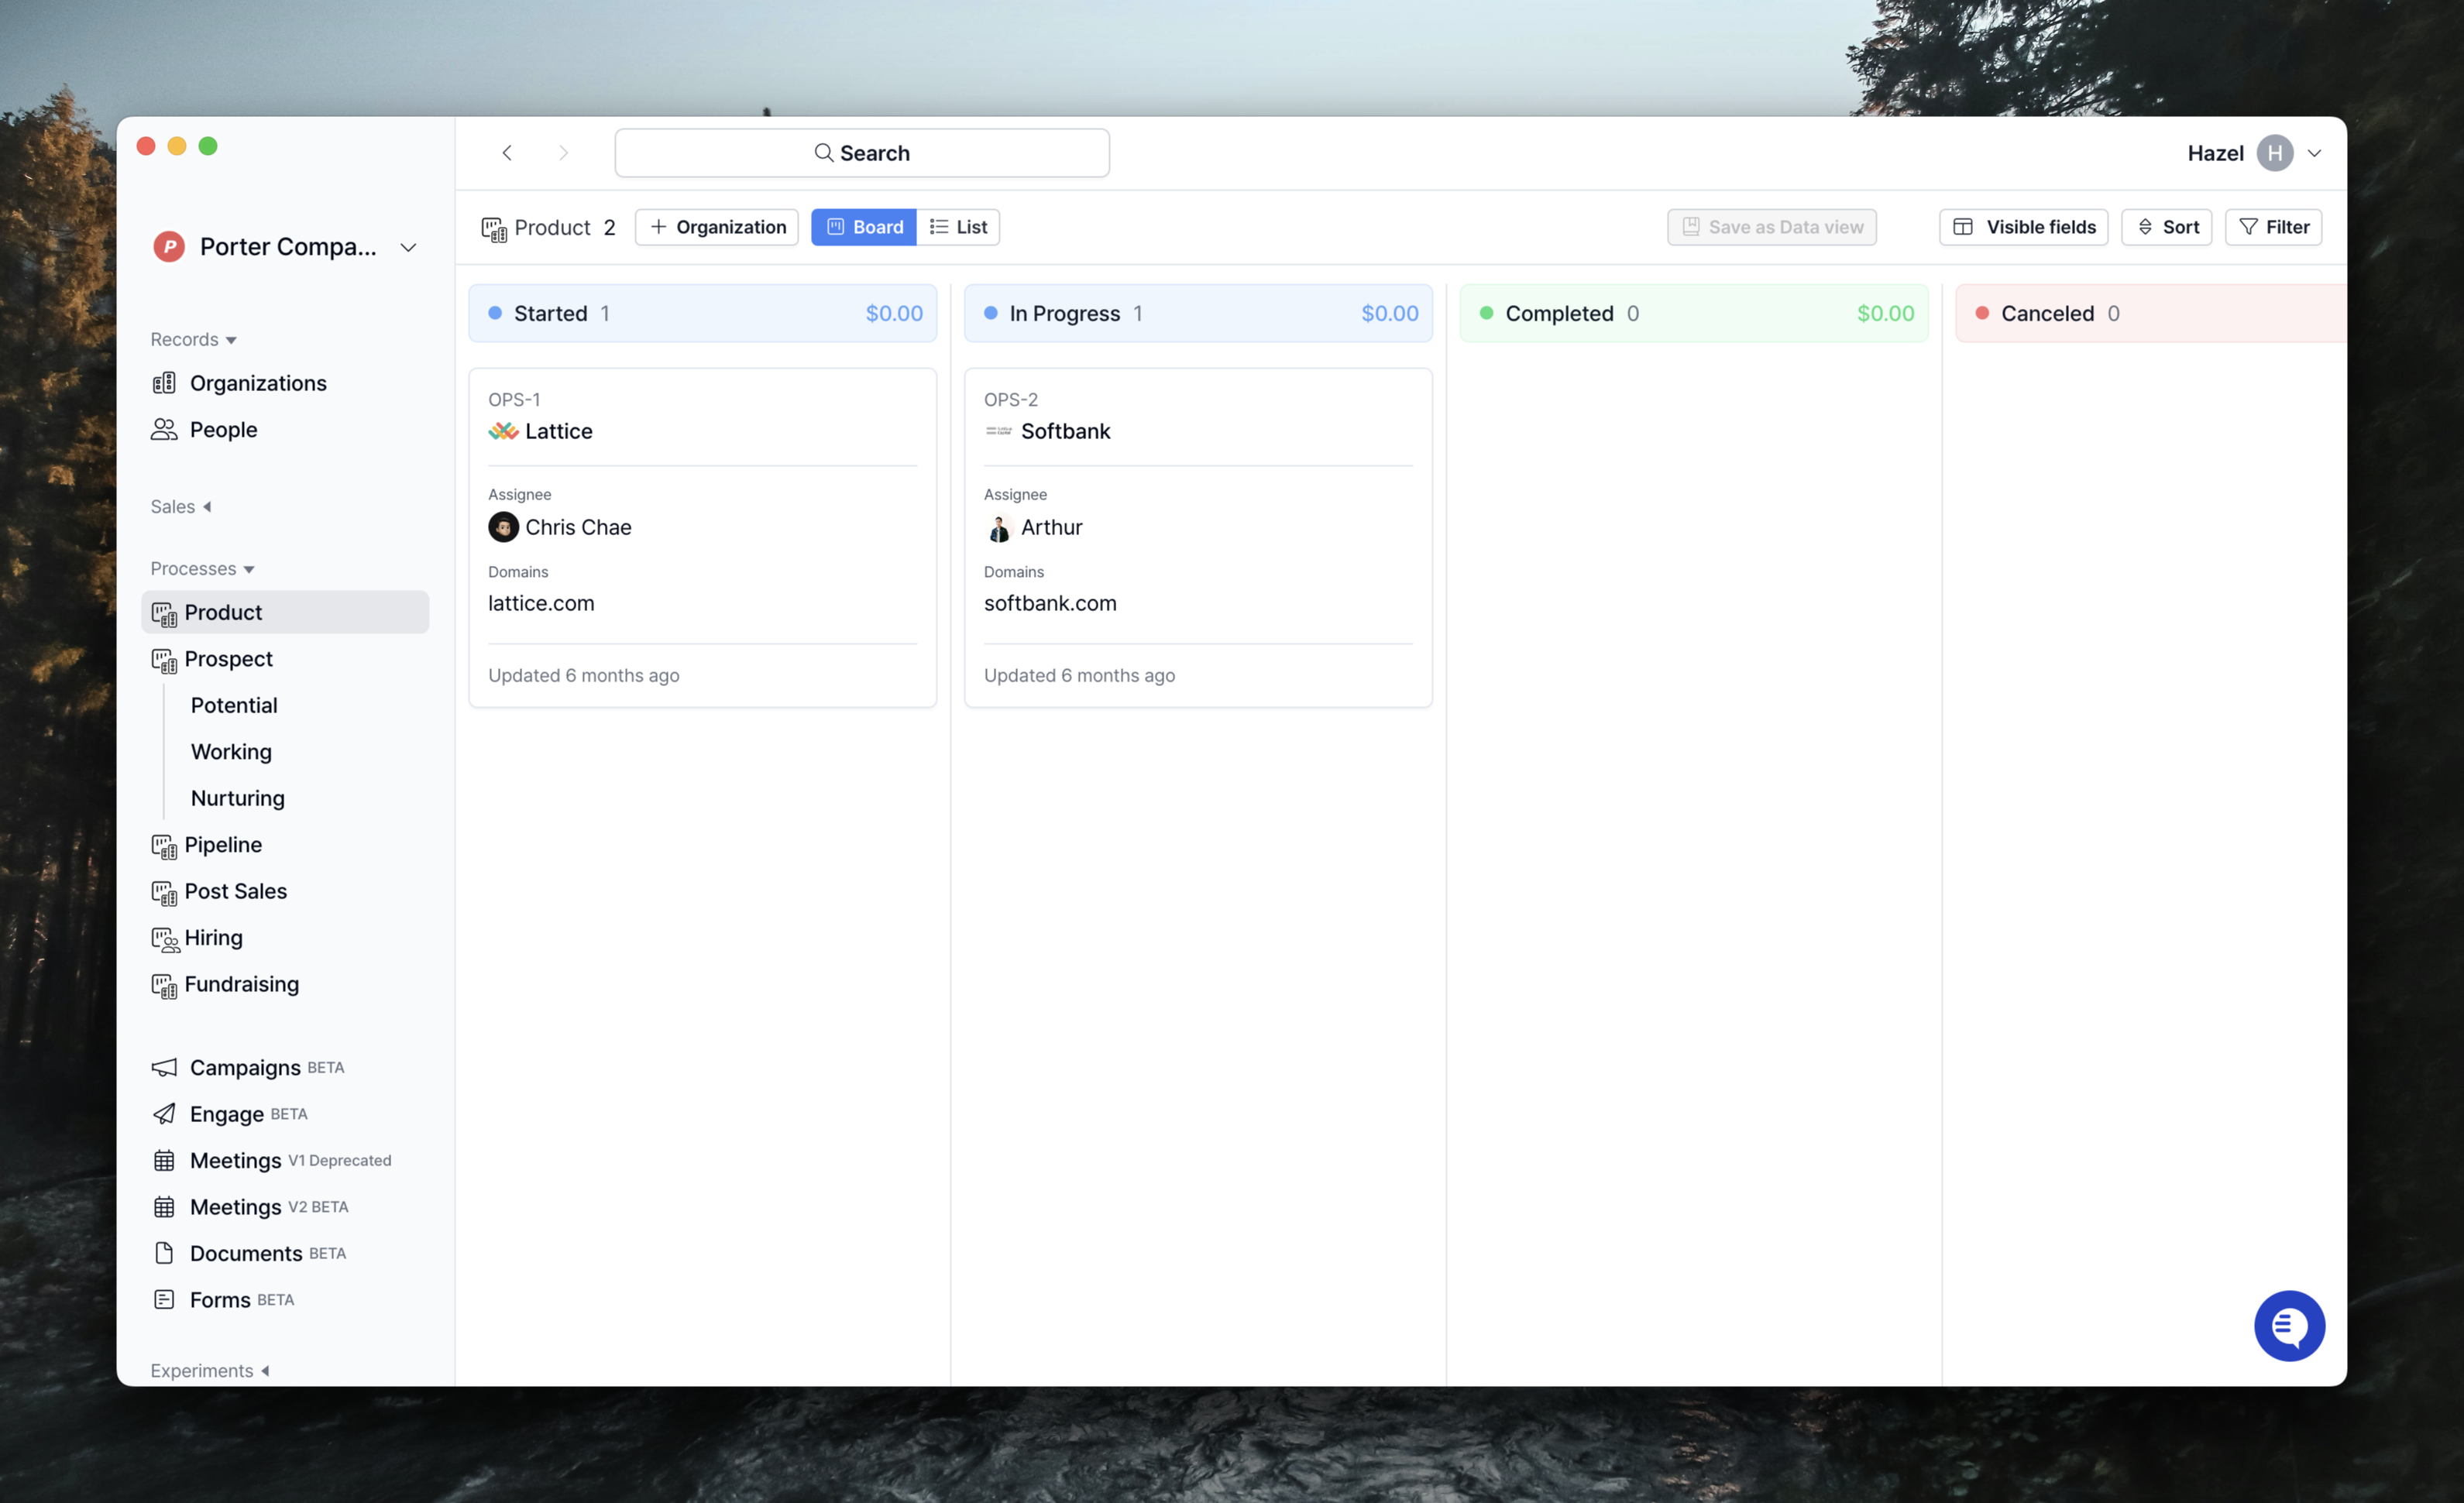
List button at the top.
Adding Organization/Contact to a process is the same as adding it to a list.
And, creating custom fields that apply only to that process is the same as adding custom fields to a list. You can find more information on how to do this in the Lists guide.
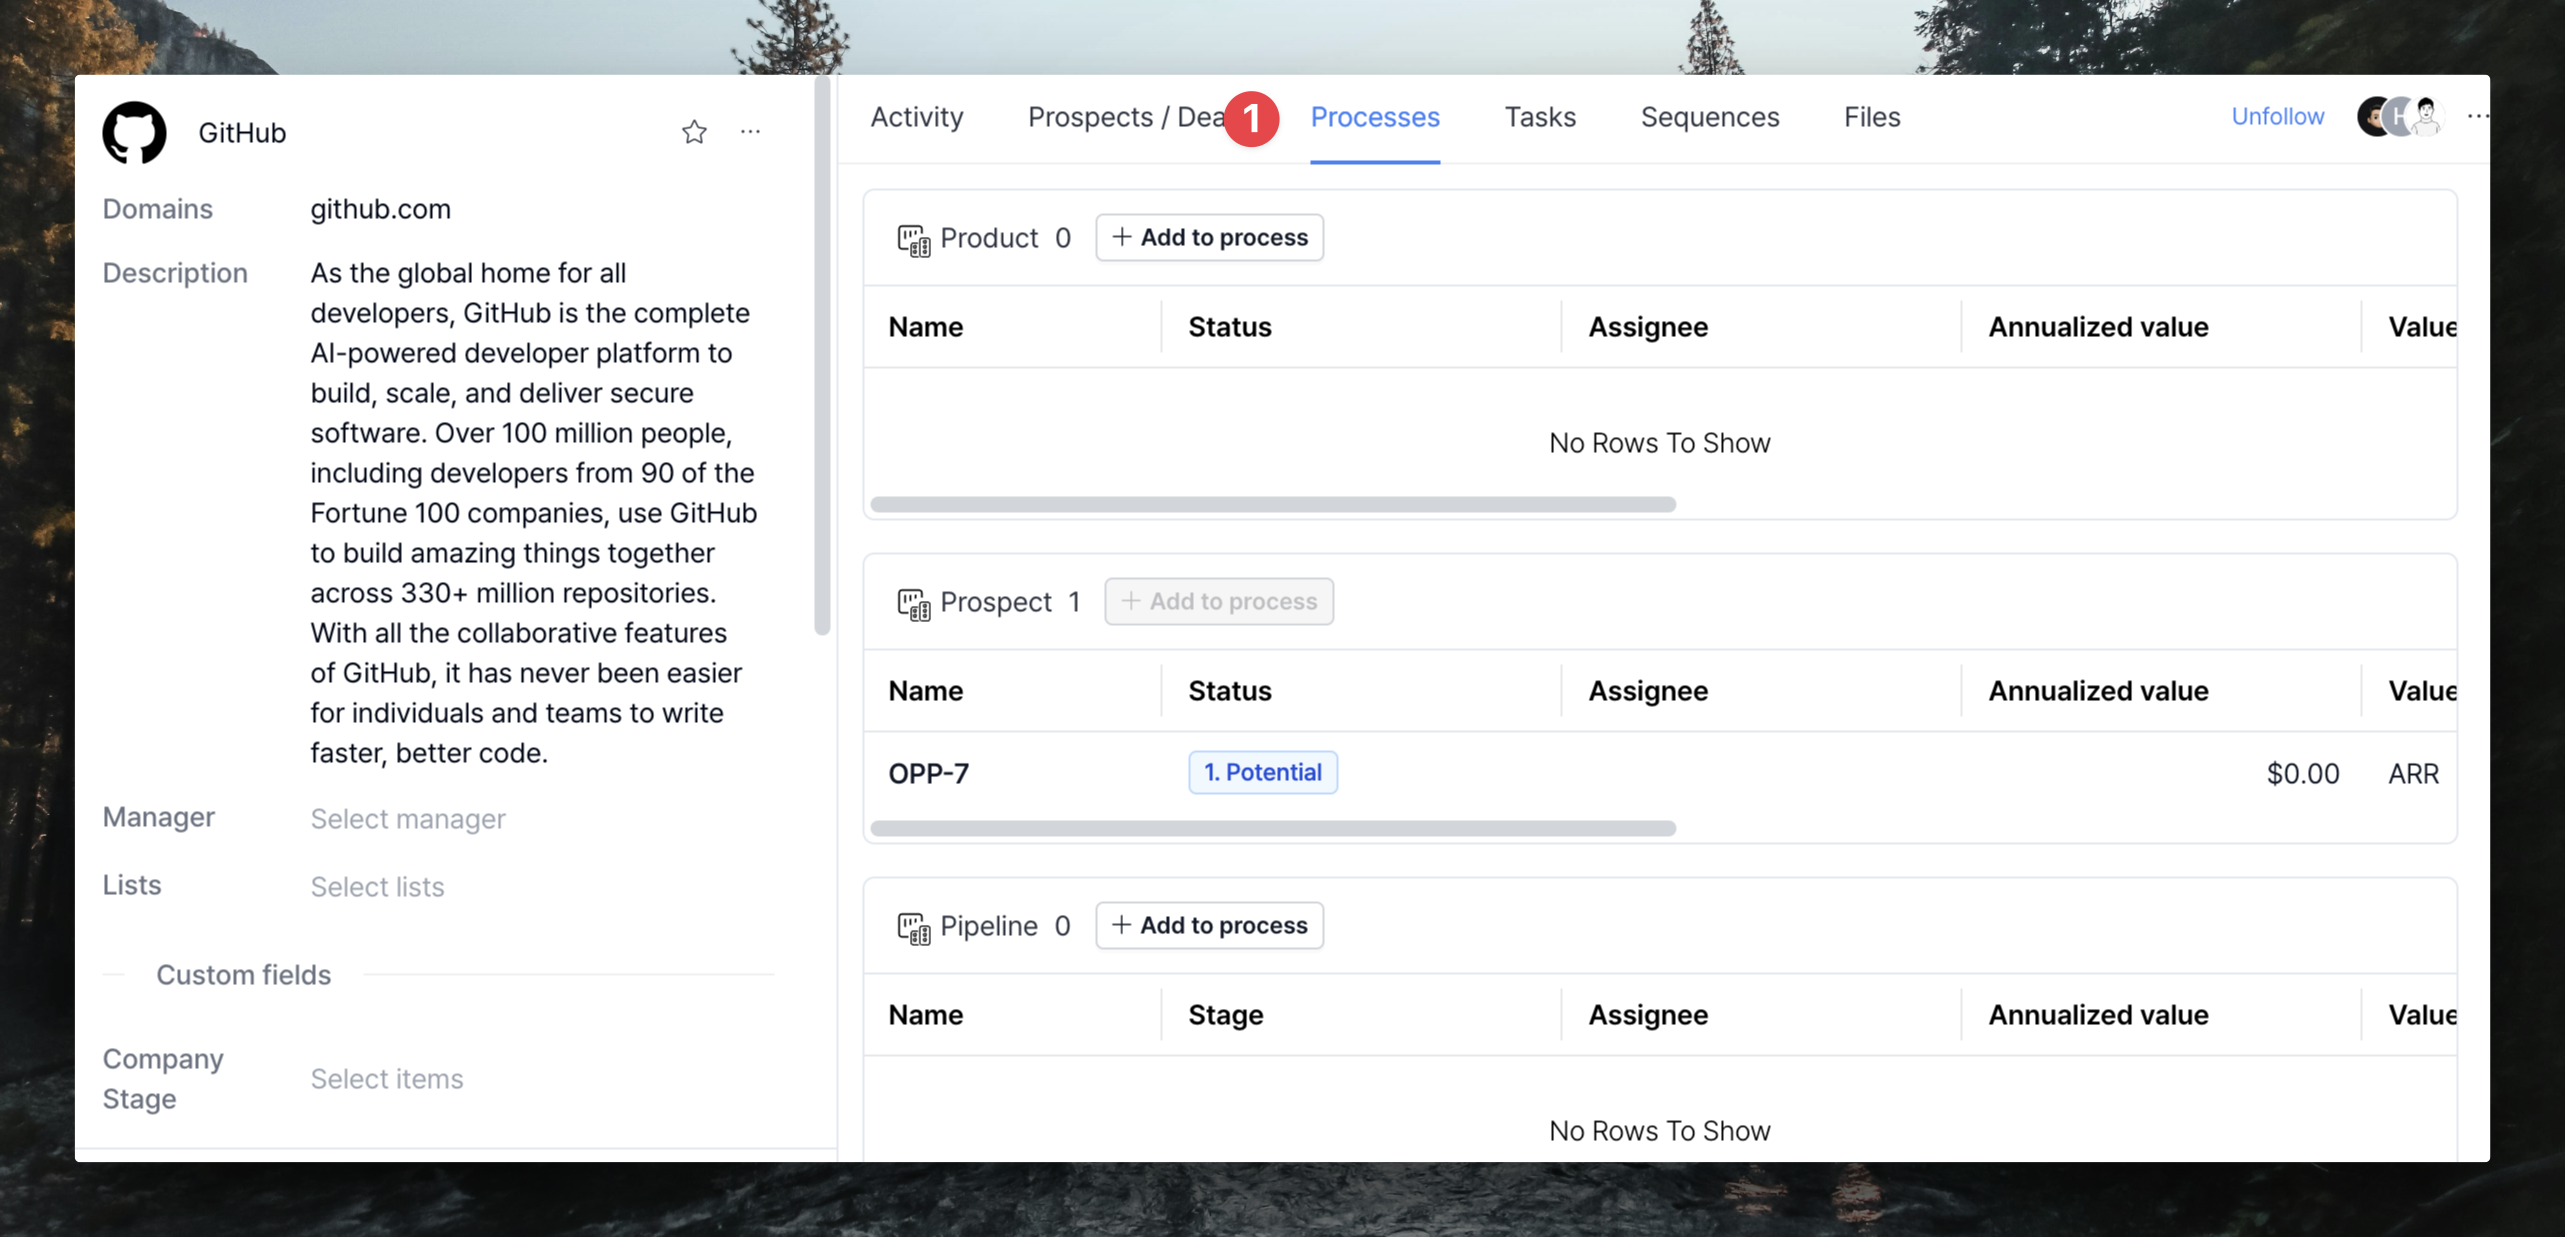
- From the Organization detail page > Process tab, add them to an already created process via the
+ Add to processbutton (see photo above) - From the Organization/People page, select them and add them via the
Add to processbutton at the bottom
3. Setting up the process
After going to the Settings page, select Process and you can see that the settings page appears in the order of General / Custom fields / Statuses.General
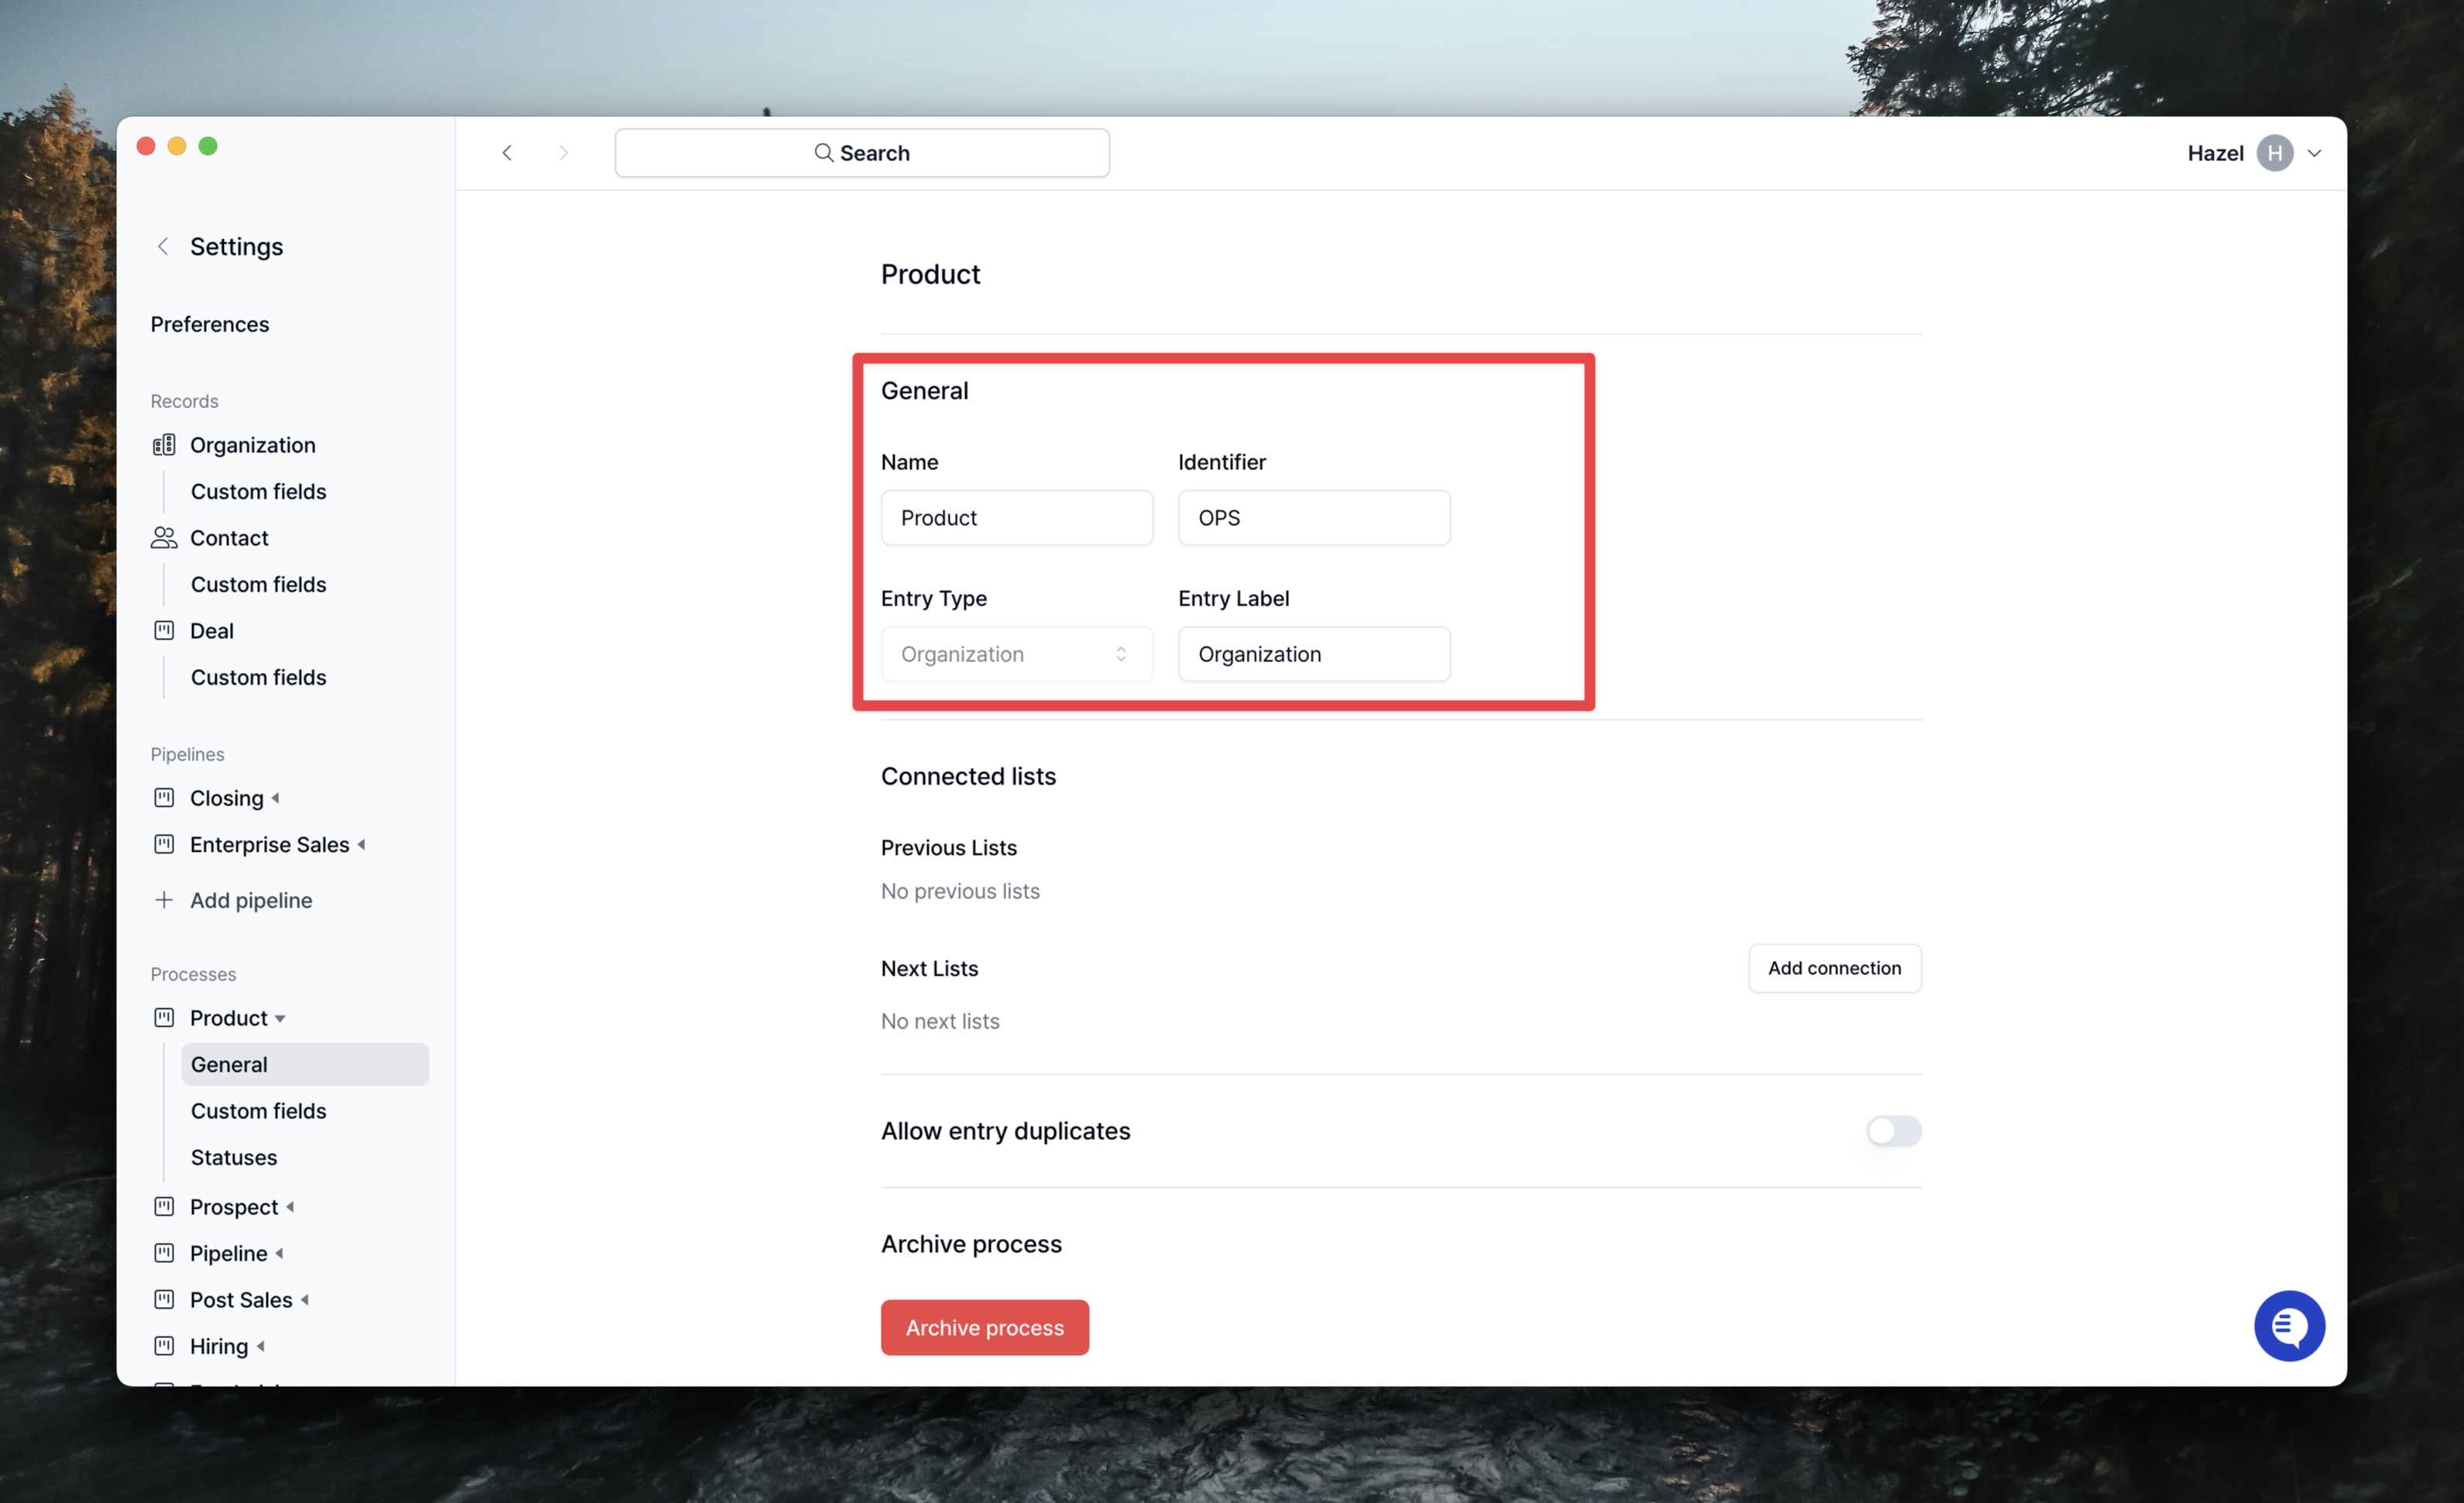
- Entry Labels are roles that you label using words other than organization/contact. For example, for a process that manages Prospects, you might label the entry “Opportunity”.
-
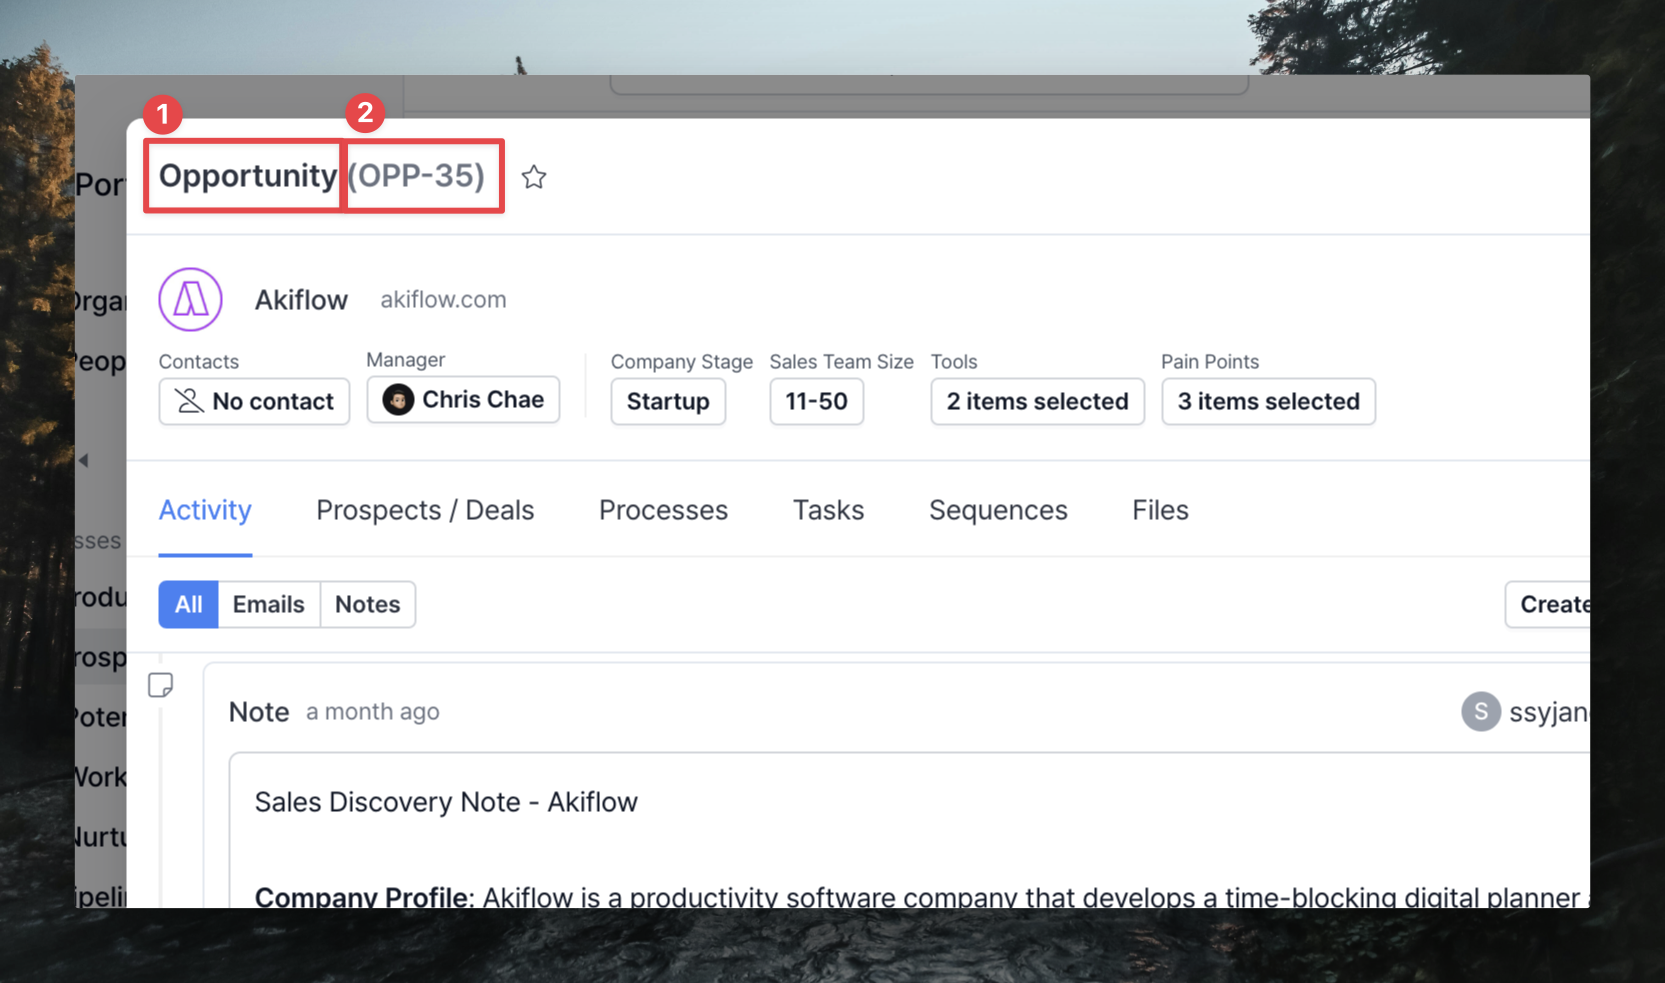
Identifier is the identifier for each process, separated by
Identifier + number(e.g., Deal-1). Since you can change the identifier to a different name than the process title, you can create processes with the same name but different identifiers to manage them.
Custom fields
This is where you create and manage custom fields that apply only to that process. For example, if you only need information when you’re doing outbound, you can set up and manage custom fields in a process for outbound. Creating custom fields is the same as creating custom fields in Organization/Contact. You can find more information in the Custom fields guide.Statuses
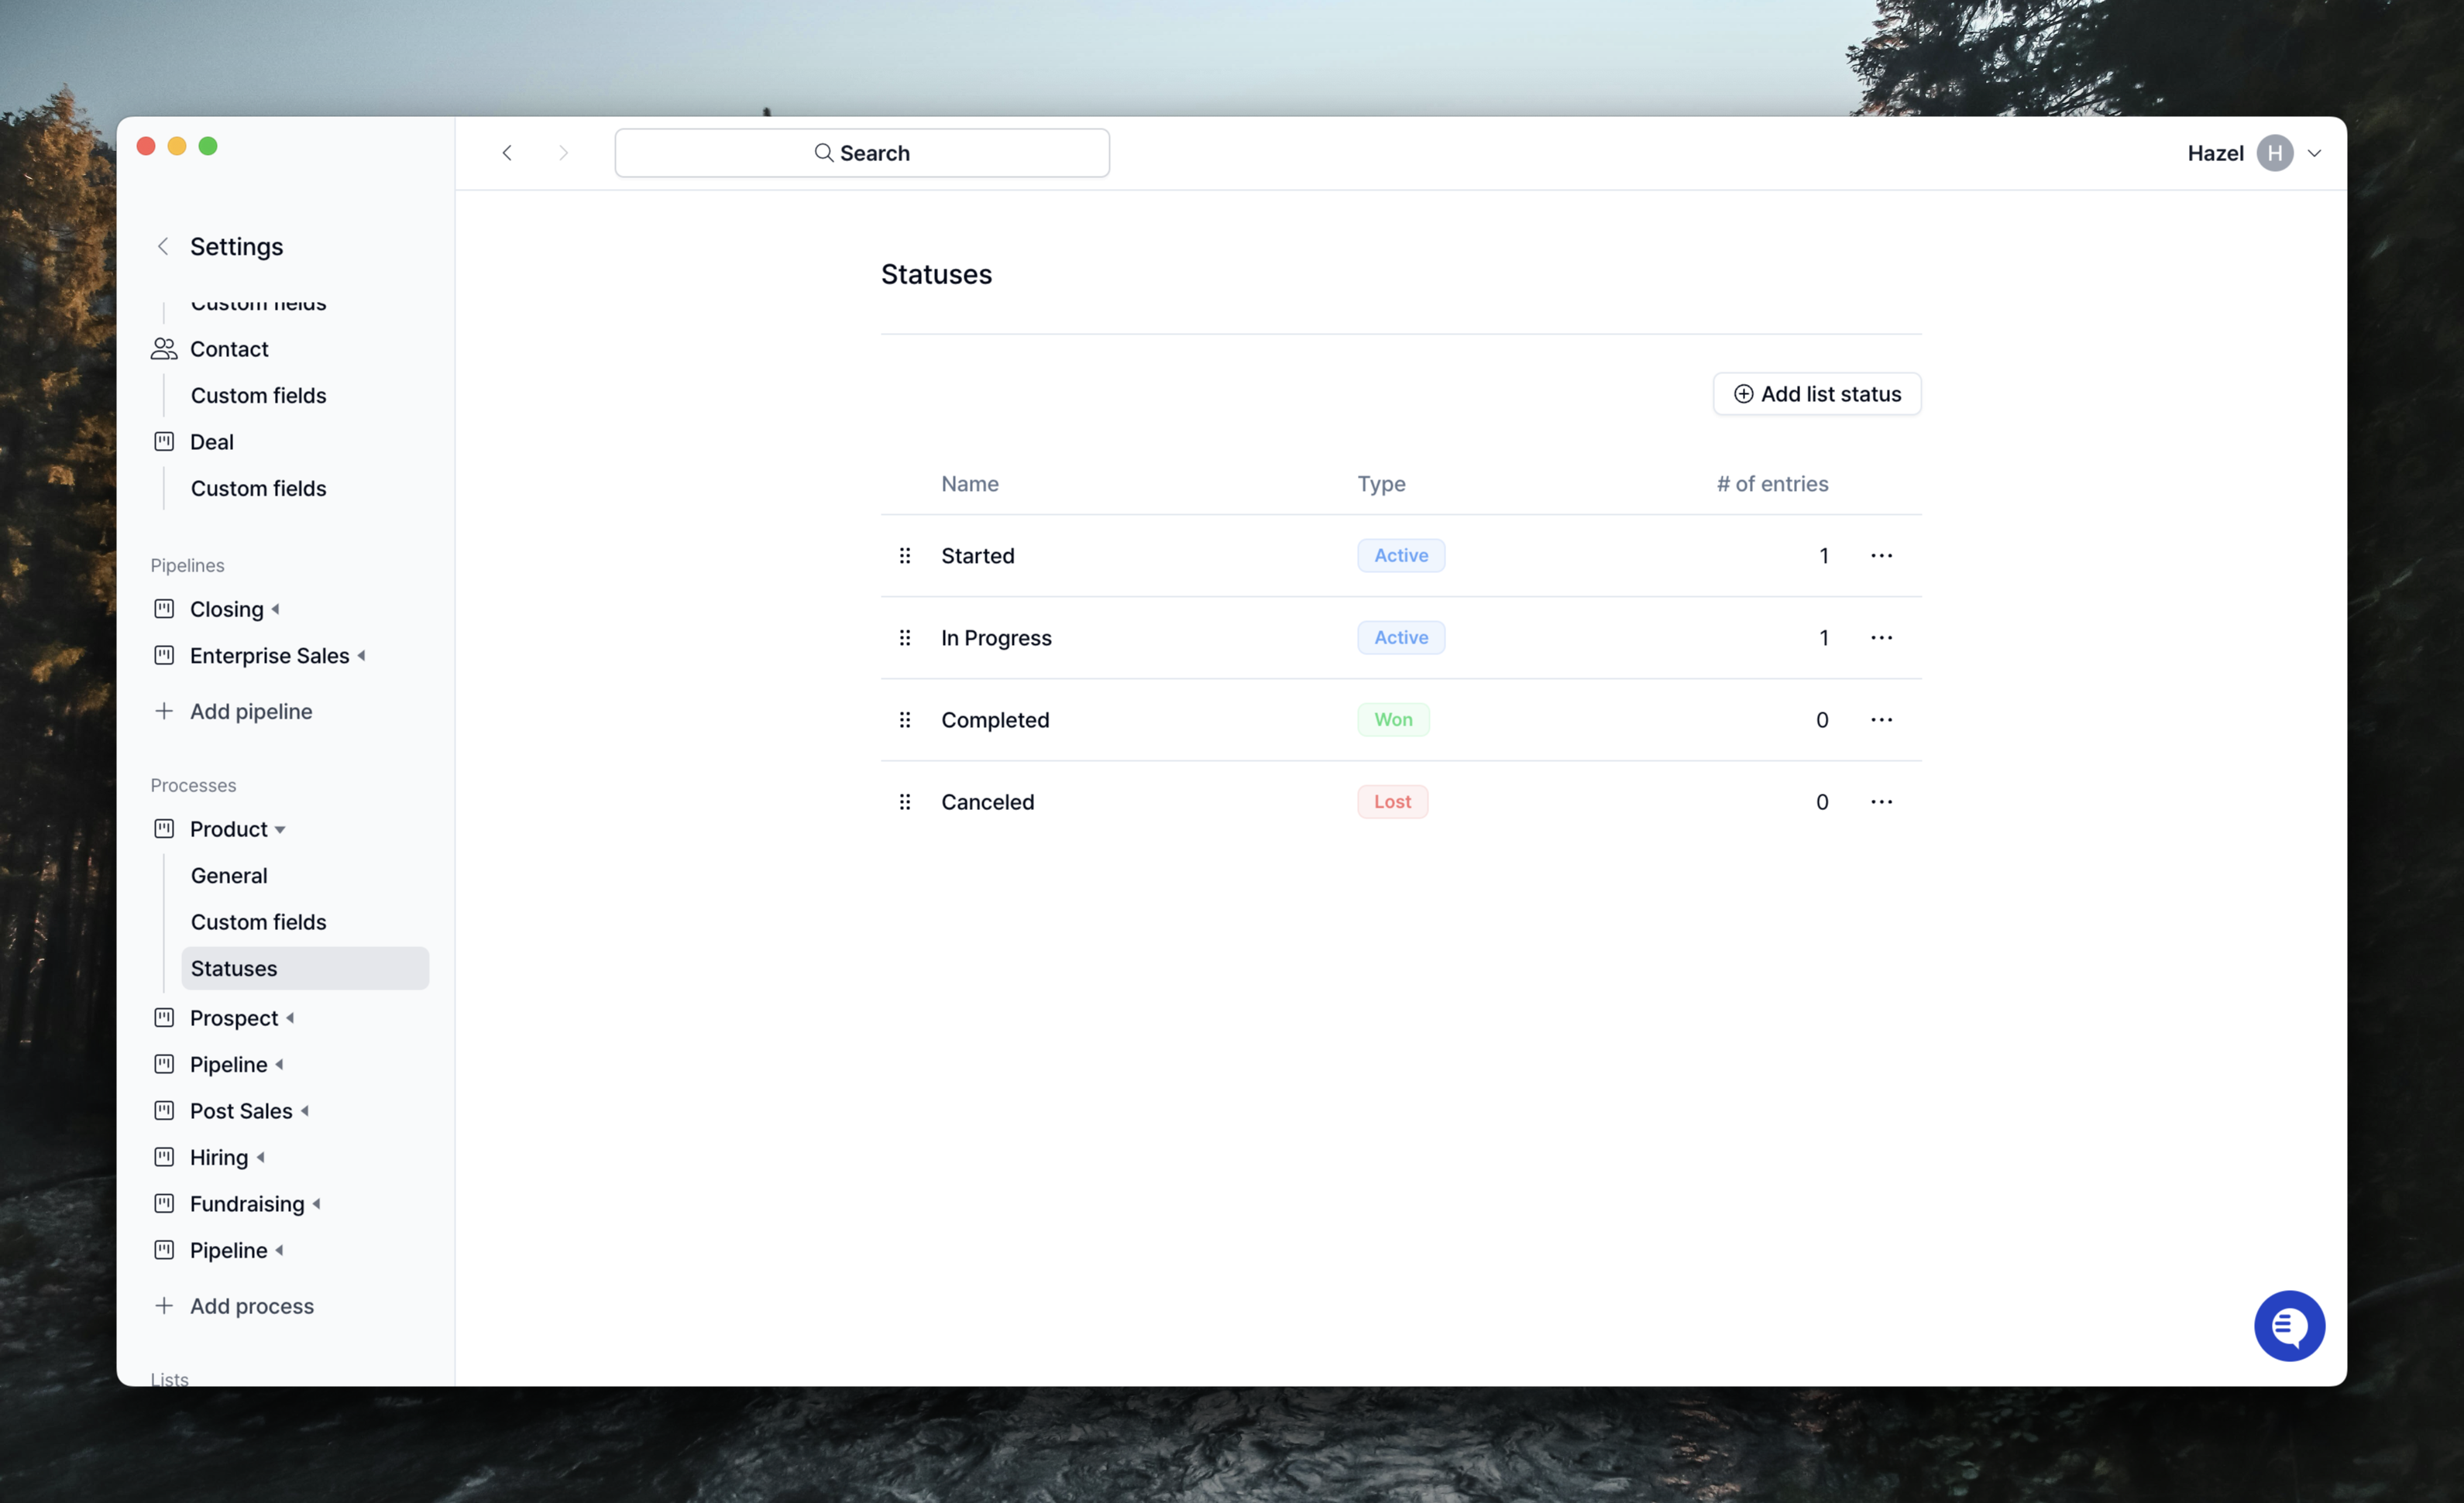
+ Add list status, and you can’t delete them if they already have an entry (card).
There are three states of Status.
Active: Indicates that something is in progress, and if a step will not be completed in either state (Success/Failure), you can use Active status.Won: Indicates a situation where a completed step has been successfully finalized. For example, becoming a customer of a product, completing a talent acquisition, etc.Lost: Indicates a situation where a completed step ended with a bad outcome. This could be a situation where a person did not become a customer of the product, a hire ended without being hired, etc.